本文将介绍怎样在Ubuntu21.10版本系统中通过源码方式安装Nginx
在 Ubuntu21.10 版本系统中源码方式安装 Nginx 步骤如下:
下载安装包 使用浏览器访问 http://nginx.org/download/ 地址,你可以看见所有可用版本的 Nginx 安装包,这里我们选择 nginx-1.9.9.tar.gz 安装包,命令如下:
hxstrive@course:/opt$ sudo wget http://nginx.org/download/nginx-1.19.0.tar.gz
[sudo] password for hxstrive:
--2022-03-14 12:42:26--  http://nginx.org/download/nginx-1.19.0.tar.gz
Resolving nginx.org (nginx.org)... 52.58.199.22, 3.125.197.172, 2a05:d014:edb:5704::6, ...
Connecting to nginx.org (nginx.org)|52.58.199.22|:80... connected.
HTTP request sent, awaiting response... 200 OK
Length: 1043748 (1019K) [application/octet-stream]
Saving to: ‘nginx-1.19.0.tar.gz’

nginx-1.19.0.tar.gz          100%[==============================================>]   1019K   265KB/s    in 3.8s

2022-03-14 12:42:32 (265 KB/s) - ‘nginx-1.19.0.tar.gz’ saved [1043748/1043748]
解压安装包 使用sudo tar -xvzf nginx-1.19.0.tar.gz 命令将压缩包解压,命令如下:
hxstrive@course:/opt$ sudo tar -xvzf nginx-1.19.0.tar.gz
nginx-1.19.0/
nginx-1.19.0/auto/
nginx-1.19.0/conf/
nginx-1.19.0/contrib/
nginx-1.19.0/src/
nginx-1.19.0/configure
nginx-1.19.0/LICENSE
...
linux广告位
安装依赖 下面将安装 nginx 编译依赖的一些组件,如下:
hxstrive@course:/opt$ sudo apt install openssl libssl-dev libpcre3 libpcre3-dev zlib1g-dev make
Reading package lists... Done
Building dependency tree... Done
Reading state information... Done
libpcre3 is already the newest version (2:8.39-13build3).
libpcre3 set to manually installed.
...
Processing triggers for man-db (2.9.4-2) ...
Processing triggers for libc-bin (2.34-0ubuntu3.2) ...
依赖说明:
openssl: 是一个开放源代码的软件库包,应用程序可以使用这个包来进行安全通信,避免窃听,同时确认另一端连接者的身份。
libssl-dev: 是 OpenSSL 通用库
libpcre3: 是 Perl 兼容的正则表达式共享库
libpcre3-dev: 是 Perl 兼容的正则表达式共享开发库
zlib1g-dev: 是压缩开发库
make: 安装 make 命令
注意: 如果你本地没有 gcc 编译器,还需要运行 sudo apt install gcc 命令,安装 gcc 编译器。
预编译 configure 在编译 nginx 之前,我们需要使用 configure 命令进行一些预编译操作,如:指定安装 nginx 的基础地址、开启 HTTPS、UDP/TCP 模块,命令如下:
hxstrive@course:/opt/nginx-1.19.0$ sudo ./configure --prefix=/opt/nginx \
    --with-http_ssl_module \
    --with-stream \
    --http-client-body-temp-path=/opt/nginx/temp/client_body_temp \
    --http-proxy-temp-path=/opt/nginx/temp/proxy_temp \
    --http-fastcgi-temp-path=/opt/nginx/temp/fastcgi_temp \
    --http-uwsgi-temp-path=/opt/nginx/temp/uwsgi_temp \
    --http-scgi-temp-path=/opt/nginx/temp/scgi_temp
[sudo] password for hxstrive:
checking for OS
 + Linux 5.13.0-35-generic x86_64
checking for C compiler ... found
 + using GNU C compiler
 + gcc version: 11.2.0 (Ubuntu 11.2.0-7ubuntu2)
...
checking for zlib library ... found
creating objs/Makefile

Configuration summary
  + using system PCRE library
  + using system OpenSSL library
  + using system zlib library

  nginx path prefix: "/opt/nginx"
  nginx binary file: "/opt/nginx/sbin/nginx"
  nginx modules path: "/opt/nginx/modules"
  nginx configuration prefix: "/opt/nginx/conf"
  nginx configuration file: "/opt/nginx/conf/nginx.conf"
  nginx pid file: "/opt/nginx/logs/nginx.pid"
  nginx error log file: "/opt/nginx/logs/error.log"
  nginx http access log file: "/opt/nginx/logs/access.log"
  nginx http client request body temporary files: "/opt/nginx/temp/client_body_temp"
  nginx http proxy temporary files: "/opt/nginx/temp/proxy_temp"
  nginx http fastcgi temporary files: "/opt/nginx/temp/fastcgi_temp"
  nginx http uwsgi temporary files: "/opt/nginx/temp/uwsgi_temp"
  nginx http scgi temporary files: "/opt/nginx/temp/scgi_temp"
其中,--prefix=/opt/nginx 用来指定安装的基础地址;--with-http_ssl_module 表示开启 HTTPS 功能;--with-stream 表示开启 UDP/TCP 模块;
安装 Nginx 运行 sudo make && make install 命令去安装 nginx,命令如下:
hxstrive@course:/opt/nginx-1.19.0$ sudo make && make install
make -f objs/Makefile
make[1]: Entering directory '/opt/nginx-1.19.0'
make[1]: Nothing to be done for 'build'.
make[1]: Leaving directory '/opt/nginx-1.19.0'
make -f objs/Makefile install
make[1]: Entering directory '/opt/nginx-1.19.0'
test -d '/opt/nginx' || mkdir -p '/opt/nginx'
mkdir: cannot create directory ‘/opt/nginx’: Permission denied
make[1]: *** [objs/Makefile:1426: install] Error 1
make[1]: Leaving directory '/opt/nginx-1.19.0'
make: *** [Makefile:11: install] Error 2
上面出现了错误信息“mkdir: cannot create directory ‘/opt/nginx’: Permission denied”表示没有权限创建“/opt/nginx”目录。使用如下命令创建目录:
# 创建目录
hxstrive@course: sudo mkdir -p /opt/nginx
# 修改目录所有者
hxstrive@course: sudo chown hxstrive:hxstrive /opt/nginx
再次执行 sudo make && make install 命令。当我们安装成功后,使用 ln 命令在 /usr/sbin 目录中创建一个软链接,命令如下:
hxstrive@course:/opt/nginx$ sudo ln -s /opt/nginx/sbin/nginx /usr/sbin/nginx
hxstrive@course:/opt/nginx$ ll /usr/sbin/nginx
lrwxrwxrwx 1 root root 21  3月 14 13:45 /usr/sbin/nginx -> /opt/nginx/sbin/nginx*
使用 nginx -v 命令验证 nginx 安装是否成功,命令如下:
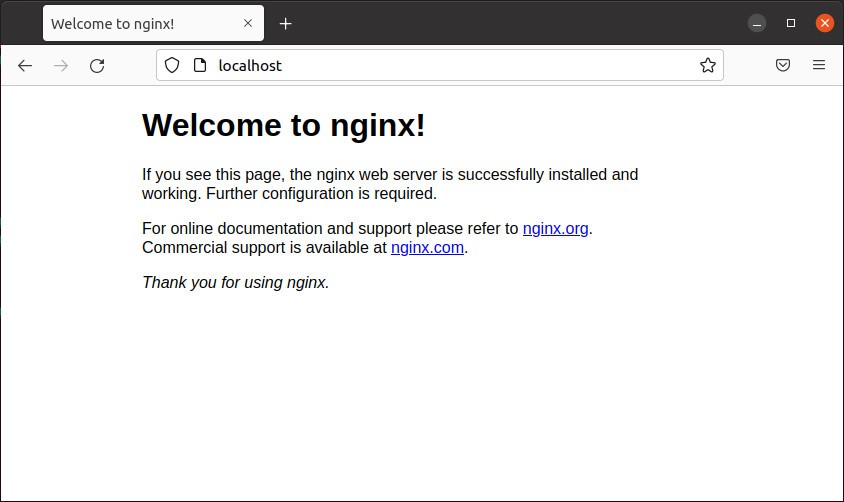
hxstrive@course:/opt/nginx$ nginx -v启动 Nginx hxstrive@course:/opt/nginx$ sudo nginx访问 Nginx 服务 在浏览器地址栏输入 http://localhost 访问 nginx,如下图:
在年轻人的颈项上,没有什么东西能比事业心这颗灿烂的宝珠更迷人的了。 —— 哈菲兹


 川公网安备51010802032098