本文将介绍怎样在 CentOS Stream9 系统下面安装 Erlang 程序。
准备工作
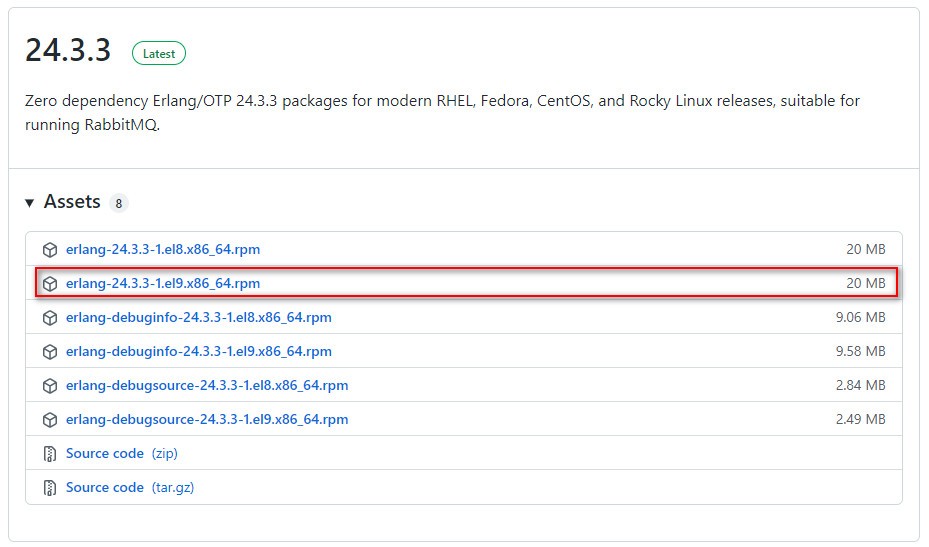
使用浏览器访问 https://github.com/rabbitmq/erlang-rpm/releases/ 地址,下载 erlang-24.3.3-1.el9.x86_64.rpm 安装包。如下图:
下载地址:https://objects.githubusercontent.com/github-production-release-asset-2e65be/47679505/ebc94cd7-2a75-446c-86b0-3c9525eb0117?X-Amz-Algorithm=AWS4-HMAC-SHA256&X-Amz-Credential=AKIAIWNJYAX4CSVEH53A%2F20220403%2Fus-east-1%2Fs3%2Faws4_request&X-Amz-Date=20220403T141210Z&X-Amz-Expires=300&X-Amz-Signature=6ca7b22ec13505b327f8f798166abe41ebddbbbd82095eb88970ddf9e364037e&X-Amz-SignedHeaders=host&actor_id=0&key_id=0&repo_id=47679505&response-content-disposition=attachment%3B%20filename%3Derlang-24.3.3-1.el9.x86_64.rpm&response-content-type=application%2Foctet-stream
linux广告位
开始安装
(1)将刚刚下载的安装包上传到 CentOS Stream9 服务器,如下:
[root@hxstrive ~]# ll
total 20504
-rw-------. 1 root root      826 Apr  2 21:16 anaconda-ks.cfg
-rw-r--r--. 1 root root 20986197 Apr  3 22:17 erlang-24.3.3-1.el9.x86_64.rpm
(2)使用 dnf install 命令安装刚刚下载的 Erlang 的 rpm 包,命令如下:
[root@hxstrive ~]# dnf install erlang-24.3.3-1.el9.x86_64.rpm
Last metadata expiration check: 1:50:41 ago on Sun 03 Apr 2022 08:26:56 PM CST.
Dependencies resolved.
====================================================================================================================================================
 Package                         Architecture                    Version                                Repository                             Size
====================================================================================================================================================
Installing:
 erlang                          x86_64                          24.3.3-1.el9                           @commandline                           20 M

Transaction Summary
====================================================================================================================================================
Install  1 Package

Total size: 20 M
Installed size: 36 M
Is this ok [y/N]: y
Downloading Packages:
Running transaction check
Transaction check succeeded.
Running transaction test
Transaction test succeeded.
Running transaction
  Preparing        :                                                                                                                            1/1
  Installing       : erlang-24.3.3-1.el9.x86_64                                                                                                 1/1
  Running scriptlet: erlang-24.3.3-1.el9.x86_64                                                                                                 1/1
  Verifying        : erlang-24.3.3-1.el9.x86_64                                                                                                 1/1

Installed:
  erlang-24.3.3-1.el9.x86_64

Complete!
上面日志中,最后输出的“Complete!”表示 Erlang 安装成功。
验证安装
(1)在当前目录下面创建一个 hello.erl 文件(类似我们学习 java 等语言时创建 Hello.java、hello.c 经典“hello world”程序)。使用 vim 编辑器,向 hello.erl 文件添加如下内容:
% This is a test Hello World Erlang Code
-module(hello).
-import(io,[fwrite/1]).
-export([helloworld/0]).

helloworld() ->
   fwrite("Hello, Erlang World!\n").
对上述程序简要说明:
%符号是用来在程序中添加注释的;
-module:模块声明中,就像其它编程语言中的命名空间一样。所以在这里,这个代码将是一个叫作 hello 模块的一部分。
export 函数用于使得程序中定义的任何函数都可以使用,上面定义了一个名为 helloworld 的函数。如果要使用 helloworld 函数,我们必须使用 export 语句导出。而 /0 则表 helloworld 函数接受 0 个参数。
最后,我们定义 helloworld 函数。在这里,我们使用一个 io 模块 ,这个模块在 Erlang 中提供有输入输出功能。我们使用 fwrite 函数来输出“Hello, Erlang World!”到控制台。
(2)编译 hello.erl 文件,生成 hello.beam 文件。命令如下:
a、查看当前目录信息,只有三个文件,如下:
[root@hxstrive ~]# ll
total 20504
-rw-------. 1 root root      826 Apr  2 21:16 anaconda-ks.cfg
-rw-r--r--. 1 root root 20986197 Apr  3 22:17 erlang-24.3.3-1.el9.x86_64.rpm
-rw-r--r--. 1 root root      160 Apr  3 22:19 hello.erl
b、运行 erl 命令,然后使用 c() 函数编译 hello.erl 文件,如下:
[root@hxstrive ~]# erl
Erlang/OTP 24 [erts-12.3.1] [source] [64-bit] [smp:1:1] [ds:1:1:10] [async-threads:1] [jit]

Eshell V12.3.1  (abort with ^G)
1> c(hello).
{ok,hello}
2>
c、查看当前目录信息,多出了一个 hello.beam 文件
[root@hxstrive ~]# ll
total 20508
-rw-------. 1 root root      826 Apr  2 21:16 anaconda-ks.cfg
-rw-r--r--. 1 root root 20986197 Apr  3 22:17 erlang-24.3.3-1.el9.x86_64.rpm
-rw-r--r--. 1 root root      560 Apr  3 22:41 hello.beam
-rw-r--r--. 1 root root      160 Apr  3 22:19 hello.erl
(3)运行 hello.erl 文件中提供的 helloworld 函数,如下:
[root@hxstrive ~]# erl
Erlang/OTP 24 [erts-12.3.1] [source] [64-bit] [smp:1:1] [ds:1:1:10] [async-threads:1] [jit]

Eshell V12.3.1  (abort with ^G)
1> c(hello).
{ok,hello}
2> hello:helloworld().
Hello, Erlang World!
ok
3>
从输出得知,Erlang 成功安装。


 川公网安备51010802032098