本文将简单的介绍Vue-Router和一个Vue-Router的入门实例。
Vue-Router简介
Vue Router 是 Vue.js 官方的路由管理器。它和 Vue.js 的核心深度集成,让构建单页面应用变得易如反掌。包含的功能有:
Vue-Router入门实例
用 Vue.js + Vue Router 创建单页应用,是非常简单的。使用 Vue.js ,我们已经可以通过组合组件来组成应用程序,当你要把 Vue Router 添加进来,我们需要做的是,将组件 (components) 映射到路由 (routes),然后告诉 Vue Router 在哪里渲染它们。下面是个基本例子:
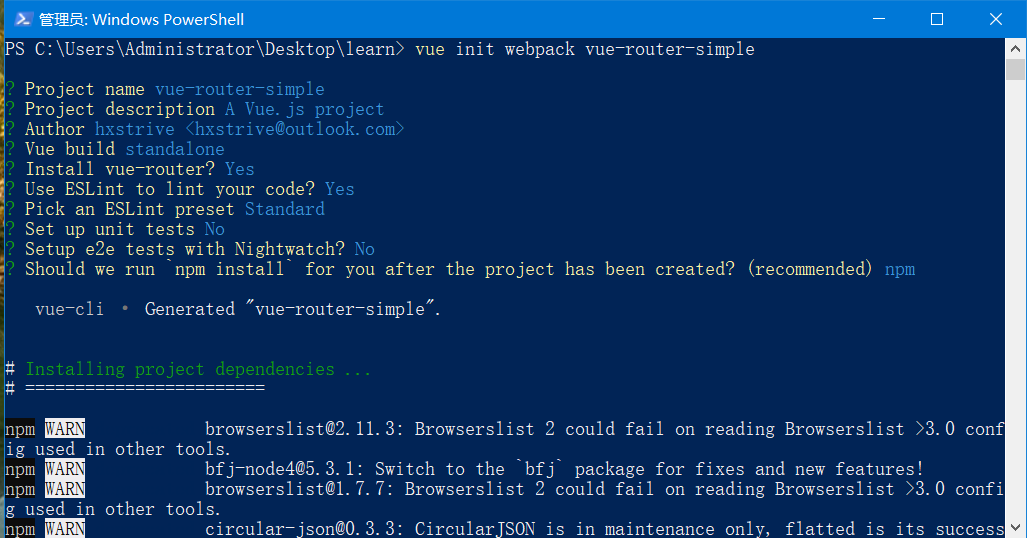
先使用 “vue init webpack vue-router-simple”命令创建一个名为 vue-router-simple 的项目,在安装过程中选择安装vue-router(注:你也可以后面使用 npm install vue-router --save-dev单独安装)。安装过程如下图:
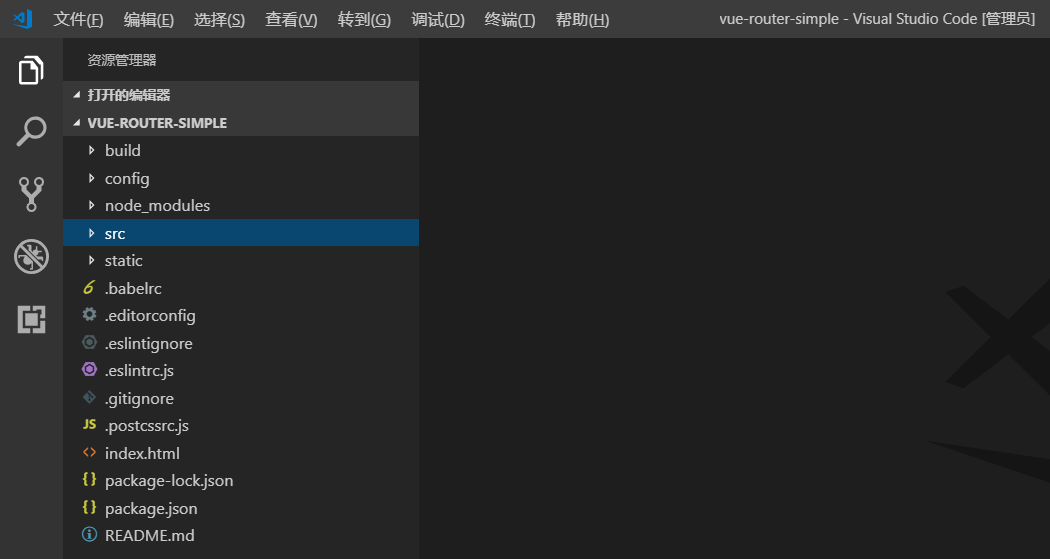
项目安装成功后的项目(我使用的VSCode编辑器)结构图如下:
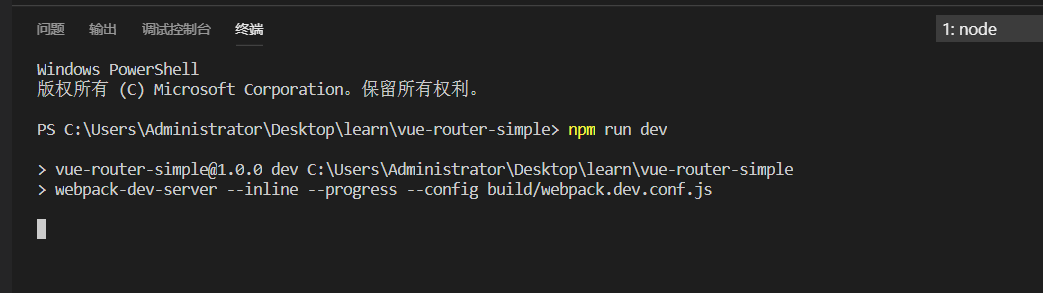
在当前项目中打开终端。输入如下命令:
npm run dev
执行过程如下图:
运行成功后,可以使用“https://localhost:8081”地址访问。默认端口为8080,因为我的8080端口被占用所以使用8081。如下图:

项目已经安装完成,下面我们将使用路由来完成一个简单的实例。实例描述:
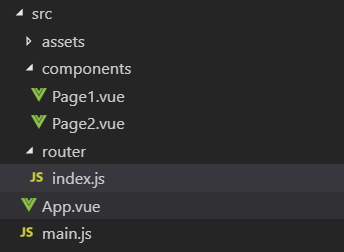
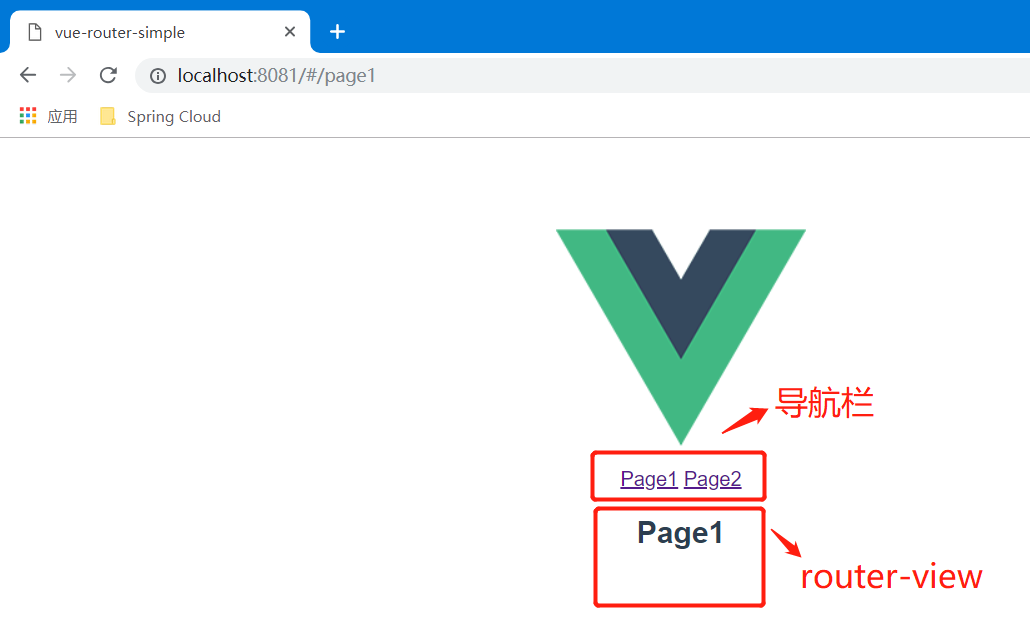
假如我们存在有 Page1.vue 和 Page2.vue两个自定义组件。然后通过导航栏在Page1和Page2之间导航。如下图:
其中:
components/Page1.vue 自定义组件
components/Page2.vue 自定义组件
router/index.js 路由配置,包含了引入vue-router和自定义组件
App.vue 包含主页,其中有router-link、router-view
main.js 主js文件
运行效果如下图
vue广告位
Page1.vue
<template>
<div class="page1">
<h2>Page1</h2>
</div>
</template>

<script>
export default {
name: 'Page1'
}
</script>

<style scoped></style>
Page2.vue
<template>
<div class="page2">
<h2>Page2</h2>
</div>
</template>

<script>
export default {
name: 'Page2'
}
</script>

<style scoped></style>
index.js
import Vue from 'vue'
// 引入路由
import Router from 'vue-router'

// 导入自己的组件
import Page1 from '@/components/Page1'
import Page2 from '@/components/Page2'

// 使用路由
Vue.use(Router)

export default new Router({
    routes: [
        {path: '/page1', name: 'Page1Link', component: Page1},
        {path: '/page2', name: 'Page2Link', component: Page2}
    ]
})
App.vue
<template>
    <div id="app">
        <img src="./assets/logo.png">
        <div>
            <router-link to="/page1">Page1</router-link>
            <router-link to="/page2">Page2</router-link>
        </div>
        <router-view/>
    </div>
</template>

<script>
export default {
    name: 'App'
}
</script>

<style>
#app {
    font-family: 'Avenir', Helvetica, Arial, sans-serif;
    -webkit-font-smoothing: antialiased;
    -moz-osx-font-smoothing: grayscale;
    text-align: center;
    color: #2c3e50;
    margin-top: 60px;
}
</style>
main.js
// The Vue build version to load with the `import` command
// (runtime-only or standalone) has been set in webpack.base.conf with an alias.
import Vue from 'vue'
import App from './App'
// 引入路由模块
import router from './router'

Vue.config.productionTip = false

/* eslint-disable no-new */
new Vue({
    el: '#app',
    router, // 启用路由
    components: { App },
    template: '<App/>'
})
index.html
<!DOCTYPE html>
<html>
    <head>
        <meta charset="utf-8">
        <meta name="viewport" content="width=device-width,initial-scale=1.0">
        <title>vue-router-simple</title>
    </head>
<body>
    <div id="app"></div>
    <!-- built files will be auto injected -->
</body>
</html>
到这里就介绍完成了。
参考资料:
https://router.vuejs.org/zh/guide/#html