本文将介绍怎样去平滑升级 nginx,通过将 nginx 1.16 升级到 nginx1.17;然后,再次将nginx 从 1.17 回退到 1.16;
在正式开始之前,我们需要一些准备工作:
编译新的二进制文件
编译我们新下载的 nginx-1.17.*.tar.gz 源文件( https://nginx.org/download/nginx-1.17.3.tar.gz )。如下:
# 解压文件
[root@S0 ~]# tar -xvzf nginx-1.17.3.tar.gz

# 预编译文件
[root@S0 nginx-1.17.3]# ./configure

# 编译生成可执行二进制文件 nginx
[root@S0 nginx-1.17.3]# make

# 查看二进制文件版本,进入 objs 目录去查看 nginx 文件
[root@S0 objs]# pwd
/root/nginx-1.17.3/objs

[root@S0 objs]# ./nginx -v
nginx version: nginx/1.17.3
开始平滑升级
(1)使用 ps -ef 命令查看我们当前已经启动的 nginx 进程。如下:
[root@S0 sbin]# ps -ef | grep nginx
root     21325     1  0 Jul05 ?        00:00:00 nginx: master process ./nginx
nobody   23598 21325  0 Jul05 ?        00:00:00 nginx: worker process
root     26309 23728  0 00:27 pts/1    00:00:00 grep nginx
(2)备份旧的 nginx 可执行文件,备份后的名称为 nginx.old。如下:
[root@S0 sbin]# cp nginx nginx.old
[root@S0 sbin]# ll
total 6560
-rwxr-xr-x. 1 root root 3355073 Jul  5 02:20 nginx
-rwxr-xr-x. 1 root root 3355073 Jul  6 00:21 nginx.old
(3)将新的文件拷贝过来,替换掉 nginx 二进制文件。如下:
# 当前 nginx 已经启动,需要使用 -f 强制覆盖
[root@S0 objs]# cp -f nginx /usr/local/nginx/sbin/
cp: overwrite `/usr/local/nginx/sbin/nginx'? y
[root@S0 sbin]# ll
total 6564
-rwxr-xr-x. 1 root root 3358923 Jul  6 00:24 nginx
-rwxr-xr-x. 1 root root 3355073 Jul  6 00:21 nginx.old
[root@S0 sbin]# ./nginx -v
nginx version: nginx/1.17.3
(4)给已经启动的nginx主进程(master)发送 USR2 信号,升级二进制可执行文件(注意:此时nginx还是能够处理请求)。如下:
[root@S0 sbin]# kill -USR2 21325
[root@S0 sbin]# ps -ef | grep nginx
root     21325     1  0 Jul05 ?        00:00:00 nginx: master process ./nginx
nobody   23598 21325  0 Jul05 ?        00:00:00 nginx: worker process
root     26313 21325  0 00:31 ?        00:00:00 nginx: master process ./nginx
nobody   26314 26313  0 00:31 ?        00:00:00 nginx: worker process
root     26316 23728  0 00:31 pts/1    00:00:00 grep nginx
注意:新生成的 nginx 主进程的 PID 为 26313
(5)我们继续给旧的nginx主进程(进程ID为 21325)发送 WINCH 信号,nginx将会优雅的关闭旧主进程所属的工作进程。如下:
[root@S0 sbin]# kill -WINCH 21325
[root@S0 sbin]# ps -ef | grep nginx
root     21325     1  0 Jul05 ?        00:00:00 nginx: master process ./nginx
root     26313 21325  0 00:31 ?        00:00:00 nginx: master process ./nginx
nobody   26314 26313  0 00:31 ?        00:00:00 nginx: worker process
root     26318 23728  0 00:36 pts/1    00:00:00 grep nginx
注意:此时,旧的nginx主进程并没有被关闭;如果当我们升级新的主进程失败,我们可以重新唤醒旧的nginx主进程,生成新的工作进程。
nginx广告位
开始平滑回退
(1)使用我们备份的旧的可执行文件覆盖新的二进制文件(这里不需要备份了,新的可能是升级失败,就没有必要保存了)。如下:
[root@S0 sbin]# ll
total 6564
-rwxr-xr-x. 1 root root 3358923 Jul  6 00:24 nginx
-rwxr-xr-x. 1 root root 3355073 Jul  6 00:21 nginx.old
[root@S0 sbin]#
[root@S0 sbin]# cp -f nginx.old nginx
cp: overwrite `nginx'? y
[root@S0 sbin]# ./nginx -v
nginx version: nginx/1.16.1
[root@S0 sbin]# ps -ef | grep nginx
root     21325     1  0 Jul05 ?        00:00:00 nginx: master process ./nginx
root     26313 21325  0 00:31 ?        00:00:00 nginx: master process ./nginx
nobody   26314 26313  0 00:31 ?        00:00:00 nginx: worker process
root     26327 23728  0 00:51 pts/1    00:00:00 grep nginx
注意:此时nginx进程并没有什么变化,还是能够接受请求。
(2)发送 HUP 信号到旧的主进程 21325,唤醒它。旧主进程将创建新的工作进程。如下:
[root@S0 sbin]# kill -HUP 21325
[root@S0 sbin]# ps -ef | grep nginx
root     21325     1  0 Jul05 ?        00:00:00 nginx: master process ./nginx
root     26313 21325  0 00:31 ?        00:00:00 nginx: master process ./nginx
nobody   26314 26313  0 00:31 ?        00:00:00 nginx: worker process
nobody   26328 21325  0 00:53 ?        00:00:00 nginx: worker process
root     26330 23728  0 00:53 pts/1    00:00:00 grep nginx
(3)给新的nginx主进程(PID为26313)发送 USR2 信号,让它不再接受新的请求。如下:
[root@S0 sbin]# kill -USR2 26313
[root@S0 sbin]# ps -ef | grep nginx
root     21325     1  0 Jul05 ?        00:00:00 nginx: master process ./nginx
root     26313 21325  0 00:31 ?        00:00:00 nginx: master process ./nginx
nobody   26314 26313  0 00:31 ?        00:00:00 nginx: worker process
nobody   26328 21325  0 00:53 ?        00:00:00 nginx: worker process
root     26332 23728  0 00:56 pts/1    00:00:00 grep nginx
(4)给新的nginx主进程(PID为26313)发送 WINCH 信号,优雅的关闭该主进程所属的所有工作进程。如下:
[root@S0 sbin]# kill -WINCH 26313
[root@S0 sbin]# ps -ef | grep nginx
root     21325     1  0 Jul05 ?        00:00:00 nginx: master process ./nginx
root     26313 21325  0 00:31 ?        00:00:00 nginx: master process ./nginx
nobody   26328 21325  0 00:53 ?        00:00:00 nginx: worker process
root     26339 23728  0 00:59 pts/1    00:00:00 grep nginx
(5)如果有必要,我们可以使用 kill -9 命令将新的主进程干掉。如下:
[root@S0 sbin]# kill -9 26313
[root@S0 sbin]# ps -ef | grep nginx
root     21325     1  0 Jul05 ?        00:00:00 nginx: master process ./nginx
nobody   26328 21325  0 00:53 ?        00:00:00 nginx: worker process
root     26341 23728  0 01:01 pts/1    00:00:00 grep nginx
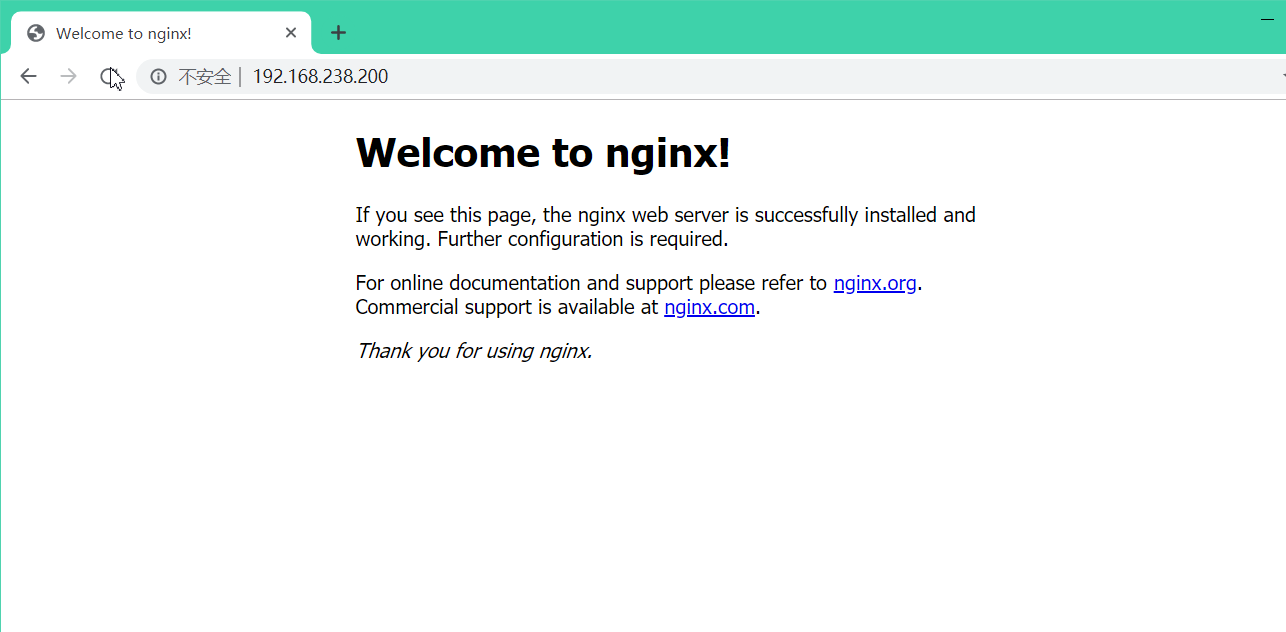
(6)最后验证一下,nginx是否能够访问:


