本文将介绍怎样通过 ngx_http_ssl_module 模块配置让 nginx 支持 ssl,开启 https 协议。
本文将介绍怎样使用 nginx 开启 https 协议访问。在平时上网时,我们经常会看到许多网站使用了 https,因为 https 比 http 要安全。使用 https 需要数字证书,数字证书是由专门的证书机构办法的。下面仅仅是为了测试,因此就不去申请证书,而是自己在本地创建一个证书。
详细步骤如下:
(1)运行 ./nginx -V 检查当前的 nginx 是否编译了 ngx_http_ssl_module 模块。如果没有编译,则编译 ngx_http_ssl_module 模块到 nginx。如下:
[root@S0 sbin]# ./nginx -V
nginx version: nginx/1.16.1
built by gcc 4.4.7 20120313 (Red Hat 4.4.7-23) (GCC)
configure arguments: --with-http_image_filter_module=dynamic
并没有将 ngx_http_ssl_module 模块编译到 nginx。只编译了 ngx_http_image_filter_module 模块。然后运行 ./configure --help | grep ssl 查看 nginx 预编译选项。如下:
[root@S0 nginx-1.16.1]# ./configure --help | grep ssl
  --with-http_ssl_module             enable ngx_http_ssl_module
  --with-mail_ssl_module             enable ngx_mail_ssl_module
  --with-stream_ssl_module           enable ngx_stream_ssl_module
  --with-stream_ssl_preread_module   enable ngx_stream_ssl_preread_module
  --with-openssl=DIR                 set path to OpenSSL library sources
  --with-openssl-opt=OPTIONS         set additional build options for OpenSSL
注意:使用 --with-http_ssl_module 选项,不要选择 --with-mail_ssl_module 选项。
(2)运行 ./configure --with-http_ssl_module 去预编译 nginx。如下:
[root@S0 nginx-1.16.1]# ./configure --with-http_ssl_module
checking for OS
 + Linux 2.6.32-358.el6.i686 i686
checking for C compiler ... found
 + using GNU C compiler
 + gcc version: 4.4.7 20120313 (Red Hat 4.4.7-23) (GCC)
...

./configure: error: SSL modules require the OpenSSL library.
You can either do not enable the modules, or install the OpenSSL library
into the system, or build the OpenSSL library statically from the source
with nginx by using --with-openssl=<path> option.
抛错了,因为缺少 OpenSSL 库。运行 yum install openssl-devel 去安装 OpenSSL 依赖库。如下:
[root@S0 nginx-1.16.1]# yum install openssl-devel
Loaded plugins: fastestmirror
Setting up Install Process
Loading mirror speeds from cached hostfile
 * base: mirrors.aliyun.com
 * extras: mirrors.aliyun.com
 * updates: mirrors.aliyun.com
 ...
 Dependency Updated:
  openssl.i686 0:1.0.1e-58.el6_10

Complete!
然后,再次运行 ./configure --with-http_ssl_module 去预编译 nginx。编译成功了,需要到 nginx 安装包的 objs 目录中将 nginx 覆盖已有的 nginx 二进制文件。如下:
# 运行 make 去编译 nginx,不要执行 make install
[root@S0 nginx-1.16.1]# make

# 先停止 nginx 服务
[root@S0 sbin]# ./nginx -s stop

# 再次拷贝 nginx 到 /usr/local/nginx/sbin 目录
[root@S0 objs]# cp nginx /usr/local/nginx/sbin/
cp: overwrite `/usr/local/nginx/sbin/nginx'? y
nginx广告位
(3)生成证书自签名的证书。如下:
# 进入到 /etc/pki/tls/certs/ 目录
[root@S0 ~]# cd /etc/pki/tls/certs/
[root@S0 certs]# ll
total 1164
-rw-r--r--. 1 root root 754217 Feb 28 20:19 ca-bundle.crt
-rw-r--r--. 1 root root 418126 Feb 28 20:19 ca-bundle.trust.crt
-rwxr-xr-x. 1 root root    610 Aug 15  2019 make-dummy-cert
-rw-r--r--. 1 root root   2242 Aug 15  2019 Makefile
-rwxr-xr-x. 1 root root    829 Aug 15  2019 renew-dummy-cert

# 创建自签名证书
[root@S0 certs]# make cert.pem
make: Warning: File `Makefile' has modification time 3.5e+07 s in the future
umask 77 ;
        PEM1=`/bin/mktemp /tmp/openssl.XXXXXX` ;
        PEM2=`/bin/mktemp /tmp/openssl.XXXXXX` ;
        /usr/bin/openssl req -utf8 -newkey rsa:2048 -keyout $PEM1 -nodes -x509 -days 365 -out $PEM2 -set_serial 0 ;
        cat $PEM1 >  cert.pem ;
        echo ""    >> cert.pem ;
        cat $PEM2 >> cert.pem ;
        rm -f $PEM1 $PEM2
Generating a 2048 bit RSA private key
...................+++
...............+++
writing new private key to '/tmp/openssl.8k6hjv'
-----
You are about to be asked to enter information that will be incorporated
into your certificate request.
What you are about to enter is what is called a Distinguished Name or a DN.
There are quite a few fields but you can leave some blank
For some fields there will be a default value,
If you enter '.', the field will be left blank.
-----
string is too long, it needs to be less than  2 bytes long
Country Name (2 letter code) [XX]:cn
State or Province Name (full name) []:SiCuan
Locality Name (eg, city) [Default City]:chengdu
Organization Name (eg, company) [Default Company Ltd]:www.hxstrive.com
Organizational Unit Name (eg, section) []:www.hxstrive.com
Common Name (eg, your name or your server's hostname) []:s0.example.com
Email Address []:hxstrive@outlook.com
make: warning:  Clock skew detected.  Your build may be incomplete.
查看刚才生成的 cert.pem 文件,如下:
[root@S0 certs]# ls
ca-bundle.crt  ca-bundle.trust.crt  cert.pem  make-dummy-cert  Makefile  renew-dummy-cert
将 cert.pem 文件拷贝到 nginx 的 conf 目录。如下:
# 将 cert.pem 证书拷贝到 nginx/conf 目录
[root@S0 certs]# cp cert.pem /usr/local/nginx/conf/

# 查看刚才拷贝的证书
[root@S0 certs]# cd /usr/local/nginx/conf/
[root@S0 conf]# ls
cert.pem      fastcgi.conf.default  fastcgi_params.default  koi-win     mime.types.default  nginx.conf.default  scgi_params.default  uwsgi_params.default
fastcgi.conf  fastcgi_params        koi-utf                 mime.types  nginx.conf          scgi_params         uwsgi_params         win-utf
(4)启动 nginx 服务,然后使用 https://s0.example.com 访问服务。如下图:
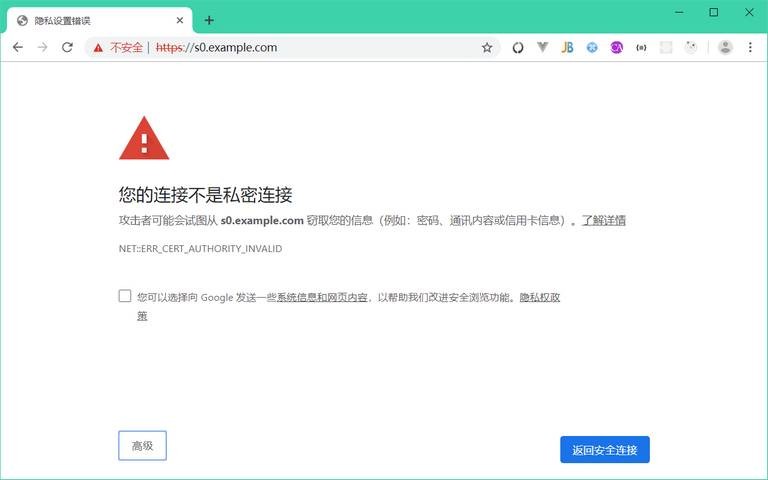
由于我们的证书是自签名的,不受信任,因此弹出了警告框。点击“高级”按钮,进入设置页面。如下图:
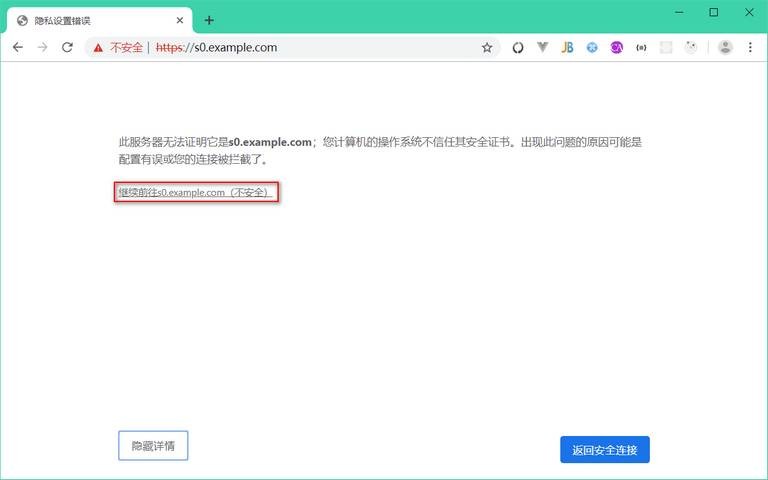
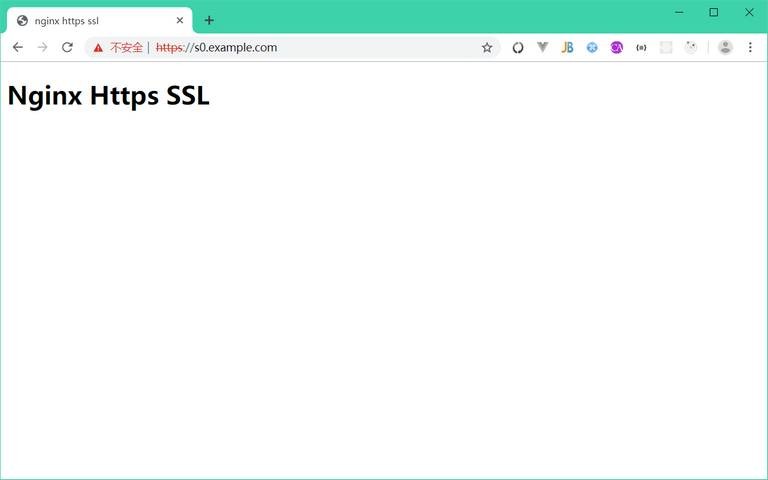
直接点击“继续前往 s0.example.com (不安全)”链接。访问 https://s0.example.com ,效果如下图:


 川公网安备51010802032098