本文将介绍怎样在 Windows 下面搭建一个 Redis 伪集群,采用不同的端口去启动 Redis。
本文将介绍怎样在 Windows 系统中搭建一个伪集群,该集群是通过在同一台机器上面,使用不同的端口启动 Redis 来实现的。自 Redis 5.0 版本开始,我们可以直接使用 redis-cli 命令来创建集群,不需要使用 redis-trib.rb Ruby 脚本来创建集群。
环境介绍
Windows11
redis-x64-5.0.14.1
集群规划
Redis 集群最少需要 6 个节点,3个主(Master)节点,3个从(Slave)节点,这些节点可以分布在一台或者多台主机上。如果所有节点分布到不同的机器上,则称为真集群。如果所有节点分布在同一台机器上,则称为伪集群。
本例将采用伪集群的方式搭建 Redis 集群,不同的端口表示不同的节点,分布如下:
127.0.0.1:6374
127.0.0.1:6375
127.0.0.1:6376
127.0.0.1:6377
127.0.0.1:6378
127.0.0.1:6379
redis广告位
配置集群
创建目录
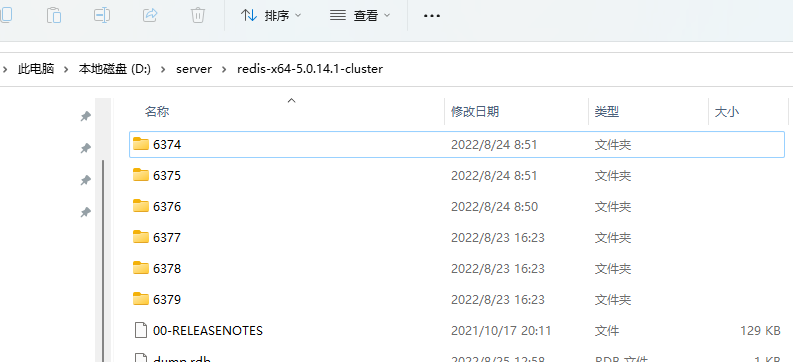
将 redis-x64-5.0.14.1 目录复制,在 redis-x64-5.0.14.1 目录中创建6个副本,副本名称分别为 6374、6375、6376、6377、6378、6379。如下图:
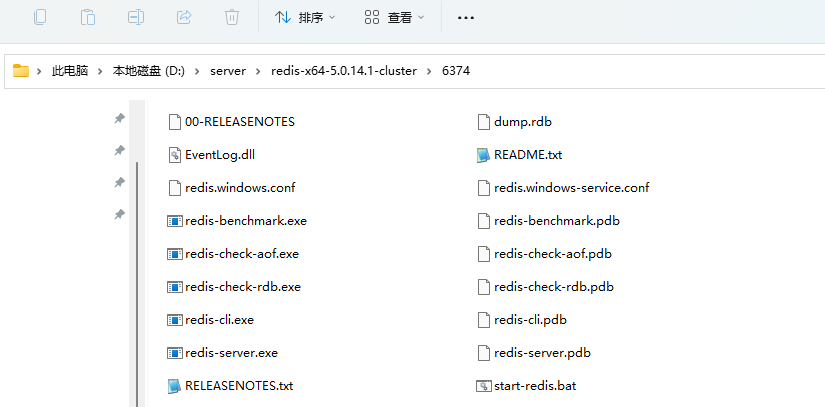
其中,每个副本目录的结构如下图:
修改 Redis 配置
编辑所有副本中的 redis.windows.conf 配置文件,有两处需要修改:
(1)修改端口号,如果是真实 Redis 集群,则不需要修改,采用默认的 6379。这里我们需要将端口修改为 6374、6375、6376、6377、6378、6379 其中的一个,配置如下:
# Accept connections on the specified port, default is 6379 (IANA #815344).
# If port 0 is specified Redis will not listen on a TCP socket.
port 6374
注意:配置大约在 85 ~ 87 行
(2)开启 Redis 集群配置,位于配置文件 847 ~ 957 行,主要修改的配置如下:
# Normal Redis instances can't be part of a Redis Cluster; only nodes that are
# started as cluster nodes can. In order to start a Redis instance as a
# cluster node enable the cluster support uncommenting the following:
# 取消这里的注释,启用集群
cluster-enabled yes

# Every cluster node has a cluster configuration file. This file is not
# intended to be edited by hand. It is created and updated by Redis nodes.
# Every Redis Cluster node requires a different cluster configuration file.
# Make sure that instances running in the same system do not have
# overlapping cluster configuration file names.
# 取消这里的注释,启用集群配置文件,文件使用 nodes-端口.conf 格式
# 其中 6374 为当前节点的端口
cluster-config-file nodes-6374.conf

# Cluster node timeout is the amount of milliseconds a node must be unreachable
# for it to be considered in failure state.
# Most other internal time limits are multiple of the node timeout.
# 取消注释,设置节点超时时间
cluster-node-timeout 15000
编写启动脚本
(1)为每个节点编写一个启动脚本,这样方便统一启动。该脚本位于副本主目录,即和 redis-server.exe 文件处于同一个目录。脚本内容如下(脚本名称 start-redis.bat):
@echo off
title redis-server-5.0.14.1-6374
%~dp0\redis-server.exe %~dp0\redis.windows.conf
注意:将上面 title 命令后面的 6374 替换成对应节点的端口
(2)编写一个总脚本,该脚本将分别调用 6374、6375、6376、6377、6378、6379 副本下面的 start-redis.bat 脚本,然后使用 redis-cli 命令建立集群。脚本内容如下(脚本名称 start-redis-cluster.bat,位于 redis-x64-5.0.14.1 目录):
@echo off
start call %~dp0\6374\start-redis.bat
start call %~dp0\6375\start-redis.bat
start call %~dp0\6376\start-redis.bat
start call %~dp0\6377\start-redis.bat
start call %~dp0\6378\start-redis.bat
start call %~dp0\6379\start-redis.bat

redis-cli --cluster create 127.0.0.1:6374 127.0.0.1:6375 127.0.0.1:6376 127.0.0.1:6377 127.0.0.1:6378 127.0.0.1:6379 --cluster-replicas 1
注意:--cluster-replicas 表示一台 Master 节点需要多少个 Slave 节点,--cluster-replicas 1 表示一个 Master 对应一个 Slave。
启动集群
到这里,Redis 伪集群配置工作就完成了。此时,直接双击运行 start-redis-cluster.bat 脚本即可启动集群。然后,使用 redis-cli 命令登录到 Redis,执行 cluster info 和 cluster nodes 命令查看集群信息。如下:
D:\server\redis-x64-5.0.14.1-cluster> redis-cli
127.0.0.1:6379> cluster info
cluster_state:ok
cluster_slots_assigned:16384
cluster_slots_ok:16384
cluster_slots_pfail:0
cluster_slots_fail:0
cluster_known_nodes:6
cluster_size:3
cluster_current_epoch:6
cluster_my_epoch:2
cluster_stats_messages_ping_sent:126
cluster_stats_messages_pong_sent:126
cluster_stats_messages_sent:252
cluster_stats_messages_ping_received:126
cluster_stats_messages_pong_received:126
cluster_stats_messages_received:252

127.0.0.1:6379> cluster nodes
d37cd650114bbb2326d25d0b167605bf41738360 127.0.0.1:6375@16375 master - 0 1661491357000 2 connected 5461-10922
11827acbaecb8d616a66a2ea5da62b70bc8e0267 127.0.0.1:6379@16379 myself,slave d37cd650114bbb2326d25d0b167605bf41738360 0 1661491358000 6 connected
dae800524479ac0c395173d0642afbe1ed0ad9f1 127.0.0.1:6377@16377 slave 91f5e879fcf80a6b4b8463e39d561adb46e706bf 0 1661491358000 4 connected
91f5e879fcf80a6b4b8463e39d561adb46e706bf 127.0.0.1:6376@16376 master - 0 1661491359000 3 connected 10923-16383
0040c84a454faba67b4b466103b77f839fd543d9 127.0.0.1:6378@16378 slave 18ee6e844cf790d47d1a053c9ea61f37d649327a 0 1661491357887 1 connected
18ee6e844cf790d47d1a053c9ea61f37d649327a 127.0.0.1:6374@16374 master - 0 1661491360075 1 connected 0-5460
127.0.0.1:6379>
关于更多 redis-cli --cluster 命令的信息,可以执行 redis-cli --cluster help 命令查看帮助信息,如下:
D:\server\redis-x64-5.0.14.1-cluster> redis-cli --cluster help
Cluster Manager Commands:
  create         host1:port1 ... hostN:portN
                 --cluster-replicas <arg>
  check          host:port
                 --cluster-search-multiple-owners
  info           host:port
  fix            host:port
                 --cluster-search-multiple-owners
  reshard        host:port
                 --cluster-from <arg>
                 --cluster-to <arg>
                 --cluster-slots <arg>
                 --cluster-yes
                 --cluster-timeout <arg>
                 --cluster-pipeline <arg>
                 --cluster-replace
  rebalance      host:port
                 --cluster-weight <node1=w1...nodeN=wN>
                 --cluster-use-empty-masters
                 --cluster-timeout <arg>
                 --cluster-simulate
                 --cluster-pipeline <arg>
                 --cluster-threshold <arg>
                 --cluster-replace
  add-node       new_host:new_port existing_host:existing_port
                 --cluster-slave
                 --cluster-master-id <arg>
  del-node       host:port node_id
  call           host:port command arg arg .. arg
  set-timeout    host:port milliseconds
  import         host:port
                 --cluster-from <arg>
                 --cluster-copy
                 --cluster-replace
  help

For check, fix, reshard, del-node, set-timeout you can specify the host and port of any working node in the cluster.


 川公网安备51010802032098