以下是使用 Spring Boot 快速搭建 Spring Batch 项目的详细步骤和示例代码,后续章节提供的示例均在该项目的基础上进行构建和开发。
创建 Spring Boot 项目
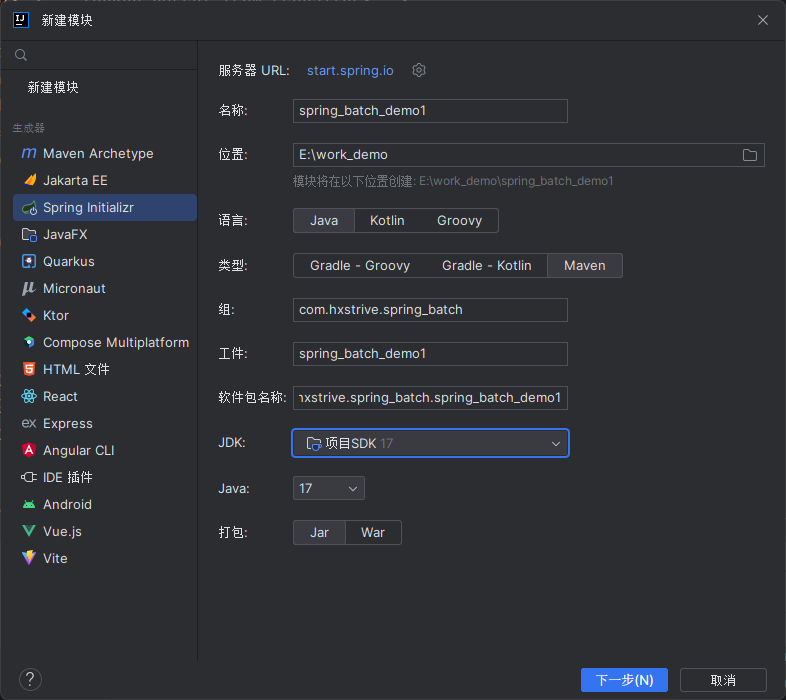
使用 Spring Initializr 或者使用 IDEA 提供的 Spring Initializr 进行创建,如下图:
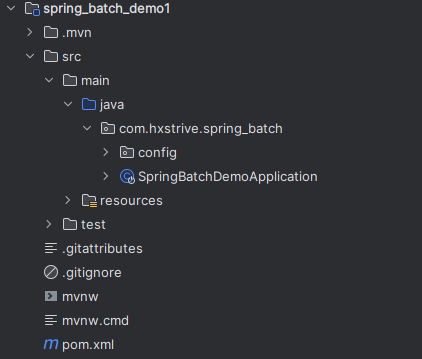
具体如何创建,读者自行完成。项目创建成功后,结构如下图:
添加 Spring Batch 依赖
由于我们使用的是 maven 项目,因此需要在 pom.xml 中添加依赖。完整的 pom.xml 内容如下:
<?xml version="1.0" encoding="UTF-8"?>
<project xmlns="http://maven.apache.org/POM/4.0.0" xmlns:xsi="http://www.w3.org/2001/XMLSchema-instance"
    xsi:schemaLocation="http://maven.apache.org/POM/4.0.0 https://maven.apache.org/xsd/maven-4.0.0.xsd">
    <modelVersion>4.0.0</modelVersion>
    <parent>
       <groupId>org.springframework.boot</groupId>
       <artifactId>spring-boot-starter-parent</artifactId>
       <version>2.6.7</version>
       <relativePath/> <!-- lookup parent from repository -->
    </parent>
    <groupId>com.hxstrive.spring_batch</groupId>
    <artifactId>spring_batch_demo1</artifactId>
    <version>0.0.1-SNAPSHOT</version>
    <name>spring_batch_demo1</name>
    <description>Demo project for Spring Boot</description>

    <properties>
       <java.version>1.8</java.version>
    </properties>

    <dependencies>
       <!-- Spring Batch 的依赖 -->
       <dependency>
          <groupId>org.springframework.boot</groupId>
          <artifactId>spring-boot-starter-batch</artifactId>
       </dependency>

       <!-- 内存数据库 -->
       <dependency>
          <groupId>com.h2database</groupId>
          <artifactId>h2</artifactId>
          <scope>runtime</scope>
       </dependency>

       <!-- Spring Boot 测试相关依赖 -->
       <dependency>
          <groupId>org.springframework.boot</groupId>
          <artifactId>spring-boot-starter-test</artifactId>
       </dependency>
    </dependencies>

    <build>
       <plugins>
          <plugin>
             <groupId>org.springframework.boot</groupId>
             <artifactId>spring-boot-maven-plugin</artifactId>
          </plugin>
       </plugins>
    </build>

</project>
配置 Spring Batch
下面将通过 @Configuration 配置类来对 Spring Batch 进行配置,代码如下:
package com.hxstrive.spring_batch.config;

import org.springframework.batch.core.*;
import org.springframework.batch.core.configuration.annotation.JobBuilderFactory;
import org.springframework.batch.core.configuration.annotation.StepBuilderFactory;
import org.springframework.batch.core.scope.context.ChunkContext;
import org.springframework.batch.core.step.tasklet.Tasklet;
import org.springframework.batch.repeat.RepeatStatus;
import org.springframework.beans.factory.annotation.Autowired;
import org.springframework.context.annotation.Bean;
import org.springframework.context.annotation.Configuration;

/**
 * Spring Batch 配置类
 * @author hxstrive.com
 */
@Configuration
public class BatchConfig {

    // 用于创建和配置 Job 对象的工厂类
    @Autowired
    private JobBuilderFactory jobBuilderFactory;

    // 用于创建和配置 Step 对象的工厂类
    @Autowired
    private StepBuilderFactory stepBuilderFactory;

    // 创建一个名为 helloJob 的任务
    @Bean
    public Job helloJob() {
        return jobBuilderFactory.get("helloJob")
                // 配置任务要执行的步骤
                .start(helloStep())
                .build();
    }

    // 创建一个名为 helloStep 的步骤
    @Bean
    public Step helloStep() {
        return stepBuilderFactory.get("helloStep").tasklet(new Tasklet() {
            @Override
            public RepeatStatus execute(StepContribution stepContribution, ChunkContext chunkContext) throws Exception {
                System.out.println("hello world");
                return RepeatStatus.FINISHED; // 返回 FINISHED 表明任务执行结束
            }
        }).build();
    }


}
上述示例中,通过 Spring Ioc 自动注入 JobBuilderFactory 和 StepBuilderFactory,然后使用他们分别创建一个 Job 和一个 Step 步骤,然后使用 Job 的 start() 方法去执行步骤。
spring 广告位
创建启动类
启动类上面添加 @EnableBatchProcessing 注解,用来开启批处理功能,如下图:
package com.hxstrive.spring_batch;

import org.springframework.batch.core.configuration.annotation.EnableBatchProcessing;
import org.springframework.boot.SpringApplication;
import org.springframework.boot.autoconfigure.SpringBootApplication;

/**
 * hello world,使用 h2 内存数据库保存状态信息
 * @author hxstrive.com
 */
@SpringBootApplication
@EnableBatchProcessing // 开启批处理
public class SpringBatchDemoApplication {

    public static void main(String[] args) {
       SpringApplication.run(SpringBatchDemoApplication.class, args);
    }

}
注意:@EnableBatchProcessing 是 Spring Batch 框架中的核心注解,用于在 Spring 应用中启用批处理功能。该注解通过 自动配置 的方式简化批处理作业的开发
运行&验证
直接运行当前 Spring Boot 项目,输出日志如下:
  .   ____          _            __ _ _
 /\\ / ___'_ __ _ _(_)_ __  __ _ \ \ \ \
( ( )\___ | '_ | '_| | '_ \/ _` | \ \ \ \
 \\/  ___)| |_)| | | | | || (_| |  ) ) ) )
  '  |____| .__|_| |_|_| |_\__, | / / / /
 =========|_|==============|___/=/_/_/_/
 :: Spring Boot ::                (v2.6.7)

2025-06-21 22:48:51.268  INFO 27944 --- [           main] c.h.s.SpringBatchDemoApplication         : Starting SpringBatchDemoApplication using Java 17.0.12 on hxstrive with PID 27944 (E:\work_demo\demo_springbatch4\spring_batch_demo1\target\classes started by hxstr in E:\work_demo)
2025-06-21 22:48:51.270  INFO 27944 --- [           main] c.h.s.SpringBatchDemoApplication         : No active profile set, falling back to 1 default profile: "default"
2025-06-21 22:48:51.695  INFO 27944 --- [           main] com.zaxxer.hikari.HikariDataSource       : HikariPool-1 - Starting...
2025-06-21 22:48:51.794  INFO 27944 --- [           main] com.zaxxer.hikari.HikariDataSource       : HikariPool-1 - Start completed.
2025-06-21 22:48:51.867  INFO 27944 --- [           main] o.s.b.c.r.s.JobRepositoryFactoryBean     : No database type set, using meta data indicating: H2
2025-06-21 22:48:51.957  INFO 27944 --- [           main] o.s.b.c.l.support.SimpleJobLauncher      : No TaskExecutor has been set, defaulting to synchronous executor.
2025-06-21 22:48:52.010  INFO 27944 --- [           main] c.h.s.SpringBatchDemoApplication         : Started SpringBatchDemoApplication in 0.981 seconds (JVM running for 1.652)
2025-06-21 22:48:52.012  INFO 27944 --- [           main] o.s.b.a.b.JobLauncherApplicationRunner   : Running default command line with: []
2025-06-21 22:48:52.044  INFO 27944 --- [           main] o.s.b.c.l.support.SimpleJobLauncher      : Job: [SimpleJob: [name=helloJob]] launched with the following parameters: [{}]
2025-06-21 22:48:52.065  INFO 27944 --- [           main] o.s.batch.core.job.SimpleStepHandler     : Executing step: [helloStep]
hello world
2025-06-21 22:48:52.073  INFO 27944 --- [           main] o.s.batch.core.step.AbstractStep         : Step: [helloStep] executed in 7ms
2025-06-21 22:48:52.076  INFO 27944 --- [           main] o.s.b.c.l.support.SimpleJobLauncher      : Job: [SimpleJob: [name=helloJob]] completed with the following parameters: [{}] and the following status: [COMPLETED] in 20ms
2025-06-21 22:48:52.080  INFO 27944 --- [ionShutdownHook] com.zaxxer.hikari.HikariDataSource       : HikariPool-1 - Shutdown initiated...
2025-06-21 22:48:52.082  INFO 27944 --- [ionShutdownHook] com.zaxxer.hikari.HikariDataSource       : HikariPool-1 - Shutdown completed.
其中关键信息:
(1)启动一个名为 helloJob 的 Job,没有携带任何参数:
2025-06-21 22:48:52.044 INFO 27944 --- [ main] o.s.b.c.l.support.SimpleJobLauncher : Job: [SimpleJob: [name=helloJob]] launched with the following parameters: [{}]
(2)执行 helloStep 步骤,并且输出“hello world”字符串,以及该步骤执行耗时 7ms:
2025-06-21 22:48:52.065  INFO 27944 --- [           main] o.s.batch.core.job.SimpleStepHandler     : Executing step: [helloStep]
hello world
2025-06-21 22:48:52.073  INFO 27944 --- [           main] o.s.batch.core.step.AbstractStep         : Step: [helloStep] executed in 7ms
(3)名为 helloJob 的 Job 执行完成,耗时 20ms,没有携带任何参数,状态为 COMPLETED:
2025-06-21 22:48:52.076 INFO 27944 --- [ main] o.s.b.c.l.support.SimpleJobLauncher : Job: [SimpleJob: [name=helloJob]] completed with the following parameters: [{}] and the following status: [COMPLETED] in 20ms
如果你能走到这里,说明第一个 Spring Batch 运行成功了,关于更多知识继续阅读后续章节……

 川公网安备51010802032098