在使用 Spring Security 6 框架时,如果没有配置自定义的登陆页面,Spring Security 6 默认会提供一个登陆页面,如下图:
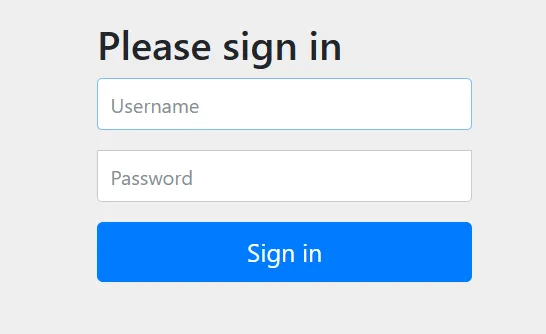
注意:该登陆页面使用了 bootstrap 作为样式库,由于 bootstrap 库在外网,访问有时会失败。
虽然 Spring Security6 给我们提供了登录页面,但是在实际项目中,大多喜欢使用自己的登录页面。所以 Spring Security 6 中不仅仅提供了登录页面,还支持用户自定义登录页面。实现过程也比较简单,只需要修改配置类即可。完整的自定义登陆页面操作流程如下:
项目结构
下面是自定义登陆页面示例项目的结构图:
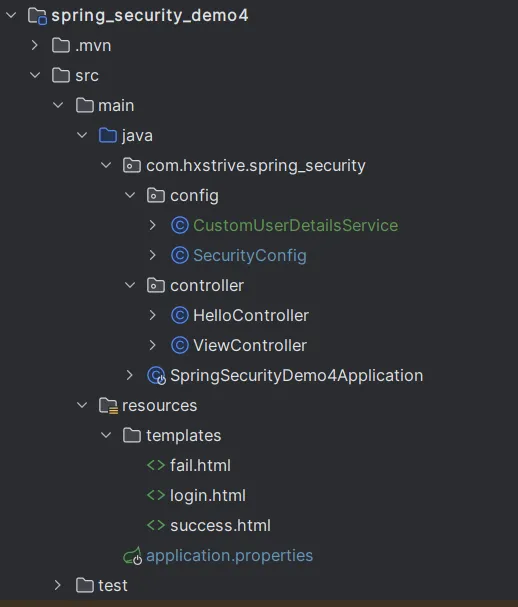
上图中,我们自定义了登陆页面(login.html)、成功(success.html)和失败(fail.html)页面。
spring 广告位
项目依赖(pom.xml)
自定义登陆页面使用 thymeleaf 技术实现,因此需要引入如下依赖:
<!DOCTYPE html>
<html>
  <head>
    <meta charset="UTF-8">
      <title>自定义登录</title>
  </head>
  <body>
    <h1>自定义登录页面</h1>
    <form action="/login" method="post">
      <p>
        用户名:<input type="text" name="username" placeholder="请输入用户名" />
      </p>
      <p>
        密码:<input type="password" name="password" placeholder="请输入密码" />
      </p>
      <p>
        <input type="submit" value="登录"/>
      </p>
    </form>
  </body>
</html>
注意,完整依赖信息查看“Spring Security6 入门示例”。
Thymeleaf 简介
Thymeleaf 是一款现代化的服务器端 Java 模板引擎,专为 Web 和独立环境应用程序设计。它能够处理 HTML、XML、JavaScript、CSS 甚至纯文本,在前后端分离的架构中扮演着重要角色。
登录页面(login.html)
自定义一个登录页面,登录表单的地址为 /login(其实可以自定义该地址,后续介绍),请求方式为 post,如下:
<!DOCTYPE html>
<html>
<head>
    <meta charset="UTF-8">
    <title>登录成功</title>
</head>
<body>
    <h1>登录成功,欢迎光临!</h1>
</body>
</html>
注意:
登录成功页面(success.html)
登录成功页面结构简单,仅仅显示“登录成功,欢迎光临!”信息,如下:
<!DOCTYPE html> <html> <head> <meta charset="UTF-8"> <title>登录成功</title> </head> <body> <h1>登录成功,欢迎光临!</h1> </body> </html>
登录失败页面(fail.html)
登录失败页面结构简单,仅仅显示“登录失败,用户名/密码错误”信息,如下:
<!DOCTYPE html>
<html>
<head>
    <meta charset="UTF-8">
    <title>登录失败</title>
</head>
<body>
    <h1 style="color:red;">登录失败,用户名/密码错误</h1>
</body>
</html>
编写视图控制器
创建 ViewController 控制器,分别提供登录、成功和失败页面的视图,如下图:
package com.hxstrive.spring_security.controller;

import org.springframework.stereotype.Controller;
import org.springframework.web.bind.annotation.RequestMapping;

/**
 * 视图控制器
 * @author hxstrive.com
 */
@Controller
@RequestMapping("/view")
public class ViewController {

    // 成功页面
    @RequestMapping("/login")
    public String login() {
        return "login";
    }

    // 成功页面
    @RequestMapping("/success")
    public String success() {
        return "success";
    }

    // 失败页面
    @RequestMapping("/fail")
    public String fail() {
        return "fail";
    }

}
自定义 UserDetailsService 实例
创建 CustomUserDetailsService 类,实现 UserDetailsService 接口,为了项目演示,简单的验证用户账号是否为“admin”,密码设置为 123456,如下:
package com.hxstrive.spring_security.config;

import org.springframework.security.core.GrantedAuthority;
import org.springframework.security.core.authority.SimpleGrantedAuthority;
import org.springframework.security.core.userdetails.User;
import org.springframework.security.core.userdetails.UserDetails;
import org.springframework.security.core.userdetails.UserDetailsService;
import org.springframework.security.core.userdetails.UsernameNotFoundException;
import org.springframework.security.crypto.bcrypt.BCryptPasswordEncoder;

import java.util.ArrayList;
import java.util.List;

/**
 * 自定义实现 UserDetailsService 接口
 * @author hxstrive.com
 */
public class CustomUserDetailsService implements UserDetailsService {

    @Override
    public UserDetails loadUserByUsername(String username) throws UsernameNotFoundException {
        System.out.println("loadUserByUsername(String username) :: " + username);
        // 模拟从数据库中加载用户信息
        if ("admin".equals(username)) {
            // 创建用户权限列表
            List<GrantedAuthority> authorities = new ArrayList<>();
            authorities.add(new SimpleGrantedAuthority("ROLE_ADMIN"));

            // 创建 UserDetails 对象
            // 注意,密码通过 BCryptPasswordEncoder 进行加密获得
            // 正常情况下,密码从数据库查询
            String password = new BCryptPasswordEncoder().encode("123456");
            return new User(username, password, authorities);
        } else {
            throw new UsernameNotFoundException("User not found with username: " + username);
        }
    }

}
spring 广告位
配置 Spring Security
创建 @Configuration 配置类 SecurityConfig,使用 @Bean 分别配置 CustomUserDetailsService 和 BCryptPasswordEncoder 的实例,如下:
package com.hxstrive.spring_security.config;

import jakarta.servlet.ServletException;
import jakarta.servlet.http.HttpServletRequest;
import jakarta.servlet.http.HttpServletResponse;
import org.springframework.context.annotation.Bean;
import org.springframework.context.annotation.Configuration;
import org.springframework.security.config.annotation.web.builders.HttpSecurity;
import org.springframework.security.config.annotation.web.configurers.AbstractAuthenticationFilterConfigurer;
import org.springframework.security.core.Authentication;
import org.springframework.security.core.AuthenticationException;
import org.springframework.security.core.userdetails.UserDetailsService;
import org.springframework.security.crypto.bcrypt.BCryptPasswordEncoder;
import org.springframework.security.crypto.password.PasswordEncoder;
import org.springframework.security.web.SecurityFilterChain;
import org.springframework.security.web.authentication.AuthenticationFailureHandler;
import org.springframework.security.web.authentication.AuthenticationSuccessHandler;
import org.springframework.security.web.authentication.ForwardAuthenticationFailureHandler;
import java.io.IOException;
import static org.springframework.security.config.Customizer.withDefaults;

/**
 * Spring Security 配置类
 * @author hxstrive.com
 */
@Configuration
public class SecurityConfig {

    // 自定义登录页面,需要配置
    @Bean
    public UserDetailsService userDetailsService() {
        System.out.println("userDetailsService()");
        return new CustomUserDetailsService();
    }

    @Bean
    public PasswordEncoder passwordEncoder() {
        System.out.println("passwordEncoder()");
        return new BCryptPasswordEncoder();
    }

    @Bean
    public SecurityFilterChain securityFilterChain(HttpSecurity http) throws Exception {
        System.out.println("securityFilterChain()");
        // csrf 设置
        // csrfCustomizer.ignoringRequestMatchers(*) 表示所有请求地址都不使用 csrf
        http.csrf(csrfCustomizer -> csrfCustomizer.ignoringRequestMatchers("*"))
                // authorize.anyRequest().authenticated() 表示所有的请求都需要进行身份验证。
                .authorizeHttpRequests(authorize -> authorize
                        // 配置登陆失败页面访问不需要鉴权
                        // 如果不配置,不会跳转到登录失败页面
                        // 因为跳转到登录失败,由于未授权,又重定向到登录页面
                        .requestMatchers("/view/login", "/view/fail").permitAll()
                        .anyRequest().authenticated())
                // formLogin() 用于配置表单登录功能
                .formLogin(e -> e.loginProcessingUrl("/login") // 配置处理登陆请求到地址
                        // 自定义登陆页面地址
                        .loginPage("/view/login")
                        // 自定义登陆成功页面
                        .defaultSuccessUrl("/view/success")
                        // 登陆失败页面
                        .failureUrl("/view/fail")
                        .permitAll())
                // httpBasic() 启用 HTTP 基本认证,withDefaults() 表示使用默认的 HTTP 基本认证配置。
                .httpBasic(withDefaults());

        return http.build();
    }

}
配置说明:
(1)CSRF 配置
// 生产环境下不建议忽略所有请求
http.csrf(csrfCustomizer -> csrfCustomizer.ignoringRequestMatchers("*"))
上述代码,crsf() 用于配置跨站请求伪造(CSRF)保护。csrfCustomizer.ignoringRequestMatchers("*") 表示忽略所有请求的 CSRF 检查。这在一些场景下可能是为了测试方便或者特定的业务需求,但在生产环境中这样配置是不安全的,通常应该明确指定哪些请求可以忽略 CSRF 检查,而不是全部忽略。
(2)请求授权配置
.authorizeHttpRequests(authorize -> authorize
    .requestMatchers("/view/login", "/view/fail").permitAll()
    .anyRequest().authenticated())
authorizeHttpRequests() 用于配置 HTTP 请求的授权规则:
requestMatchers("/view/login", "/view/fail").permitAll() 表示对 /view/login 和 /view/fail 这两个请求路径,允许所有用户访问,无需进行身份验证。
anyRequest().authenticated() 表示除了前面指定的允许的请求外,其他任何请求都需要用户进行身份验证后才能访问。
(3)表单登录配置
.formLogin(e -> e.loginProcessingUrl("/login")
    .loginPage("/view/login")
    .defaultSuccessUrl("/view/success")
    .failureUrl("/view/fail")
    .permitAll())
formLogin() 用于配置基于表单的登录相关设置:
loginProcessingUrl("/login") 配置处理登录表单提交的 URL,当用户提交登录表单时,Spring Security 会将请求发送到这个 URL 进行身份验证。
loginPage("/view/login") 配置自定义的登录页面的路径,用户访问这个路径会看到登录页面。
defaultSuccessUrl("/view/success") 配置用户成功登录后默认重定向的 URL。
如果用户访问 http://localhost:8080/hello 地址,由于没有权限,将跳转到登录页面 http://localhost:8080/view/login,登录成功将跳转到 http://localhost:8080/hello 地址(即上次访问的地址)。
如果用户直接访问登录页面 http://localhost:8080/view/login,登录成功将跳转到 http://localhost:8080/view/success 地址。
failureUrl("/view/fail") 配置用户登录失败后重定向的 URL 地址。
permitAll() 配置登录相关的请求(如访问登录页面、处理登录请求等),允许所有用户访问。
(4)HTTP Basic 配置
.httpBasic(withDefaults())
httpBasic() 配置了 HTTP Basic 认证,withDefaults() 表示使用默认的 HTTP Basic 认证配置。HTTP Basic 认证是一种简单的认证方式,客户端通过在请求头中发送用户名和密码(经过 Base64 编码)来进行身份验证。
编写 HelloController 控制器
该控制器仅提供一个简单的 /hello 接口,该接口返回固定值,如下:
package com.hxstrive.spring_security.controller;

import org.springframework.web.bind.annotation.GetMapping;
import org.springframework.web.bind.annotation.RestController;

/**
 * 简单控制器
 * @author hxstrive.com
 */
@RestController
public class HelloController {

    @GetMapping("/hello")
    public String hello() {
        return "Hello, Spring Security!";
    }

}
编写入口类
使用 @SpringBootApplication 和 @EnableWebSecurity 注解修饰入口类,如下:
package com.hxstrive.spring_security;

import org.springframework.boot.SpringApplication;
import org.springframework.boot.autoconfigure.SpringBootApplication;
import org.springframework.security.config.annotation.web.configuration.EnableWebSecurity;

/**
 * 入口类
 * @author hxstrive.com
 */
@SpringBootApplication
@EnableWebSecurity
public class SpringSecurityDemo4Application {

	public static void main(String[] args) {
		SpringApplication.run(SpringSecurityDemo4Application.class, args);
	}

}
运行项目
在 IDE 中运行 Spring Boot 应用程序的主类(通常是带有 @SpringBootApplication 注解的类),监听 8080 端口。
spring 广告位
测试应用
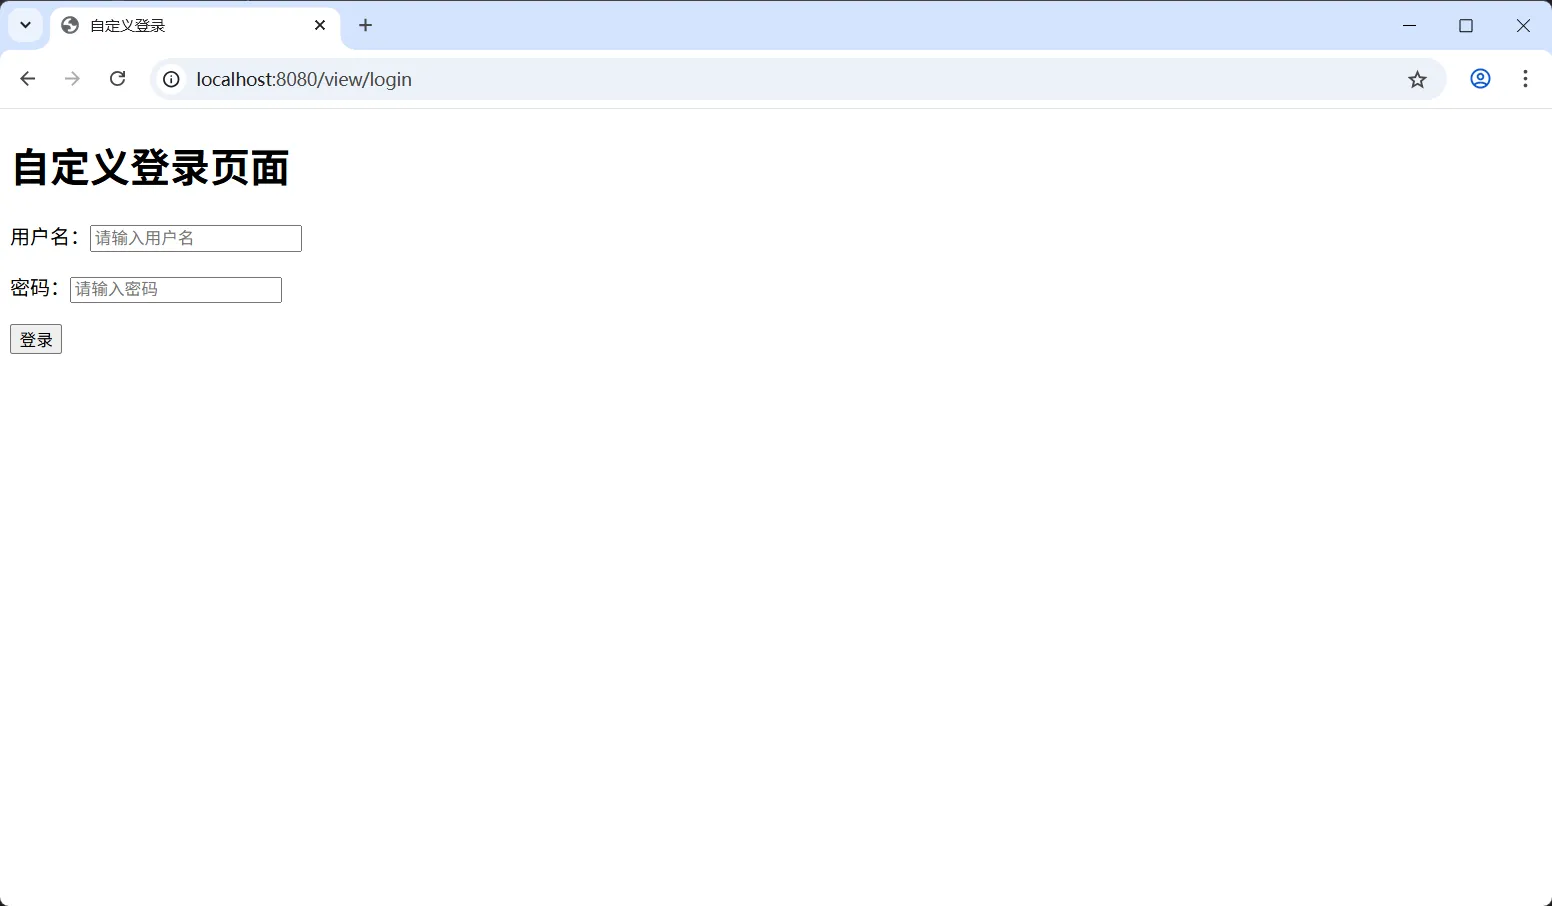
打开浏览器,访问 http://localhost:8080/hello 地址,由于所有请求都需要身份验证,你会看到自定义的登录页面,如下图:
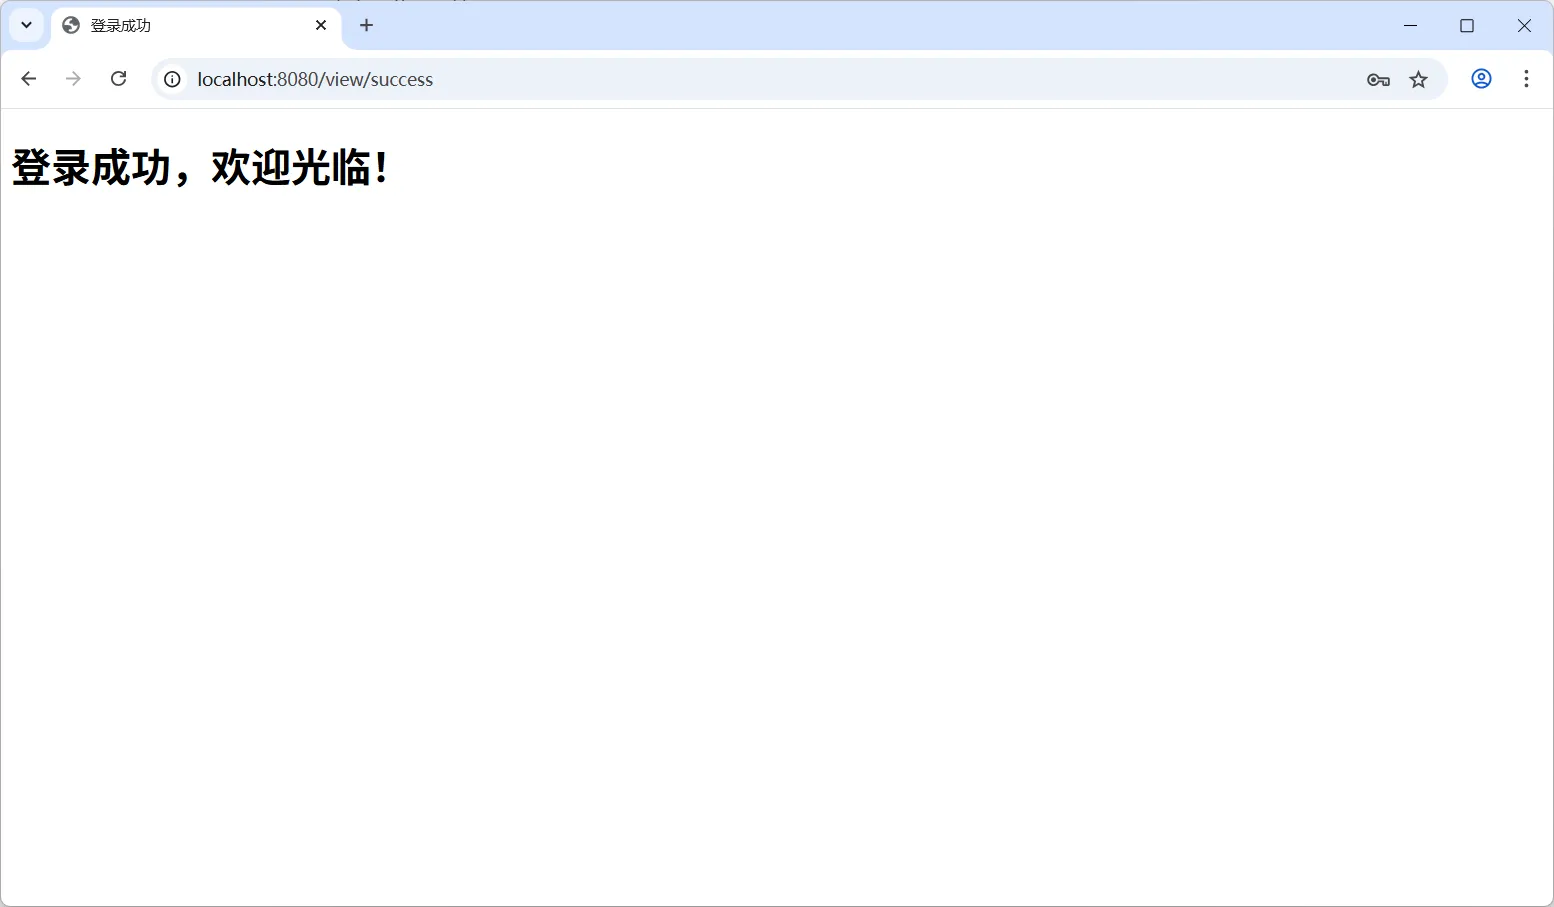
输入用户名(admin)和密码(123456),点击“登录”按钮,登录成功将会跳转到登录成功页面,如下图:
如果输入的用户名或密码错误,将会跳转到登录失败页面,如下图:
到这里,详细介绍了如何自定义登录页面,后续将介绍如何自定义登录请求参数名称。

 川公网安备51010802032098