本章将介绍如何使用 Spring Security6 快速实现“记住我”功能,避免用户每次登陆都需要输入用户名/密码。
什么是“记住我”?
登录时的 “记住我” 功能是一种常见的用户体验优化措施。用户在登录界面输入用户名和密码后,勾选 “记住我” 选项再进行登录。之后,即使关闭浏览器或退出应用程序,下次访问登录页面时,系统会自动填充用户名,甚至可能自动完成登录,无需用户再次输入用户名和密码。例如:
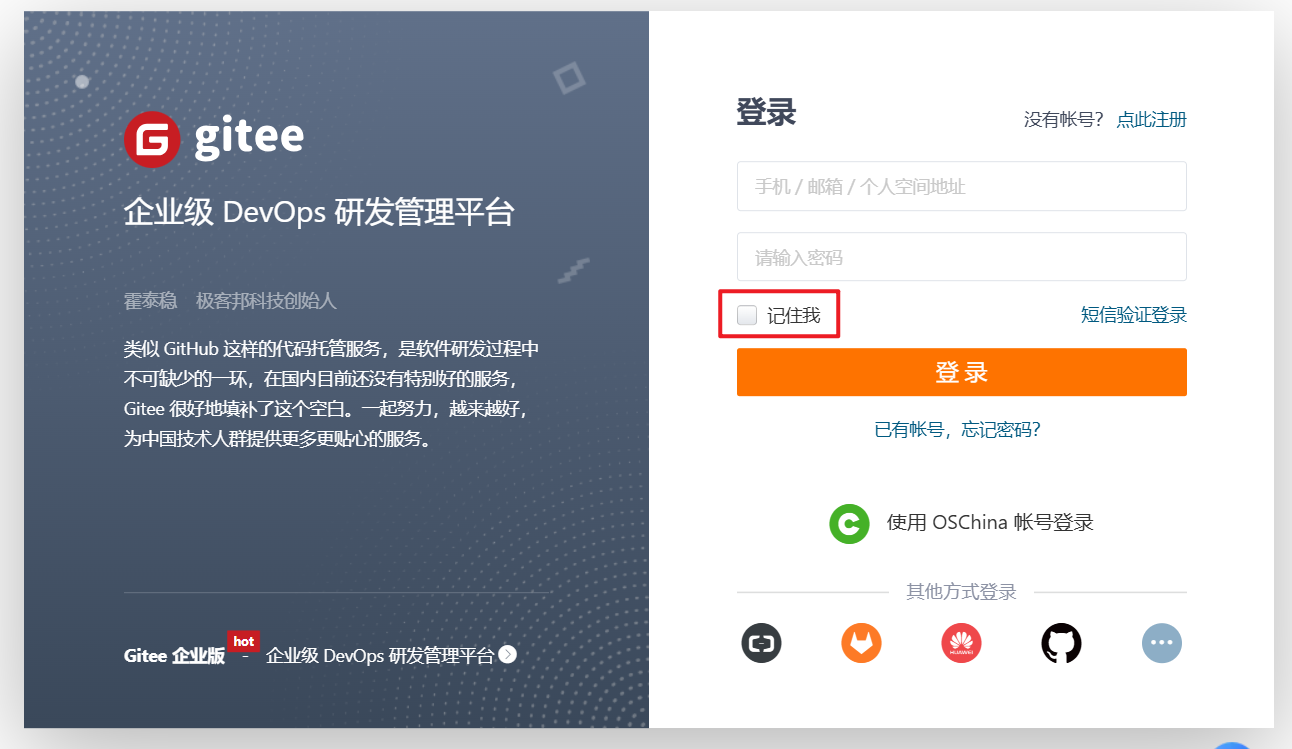
通常借助 Cookie、令牌(Token)等技术实现。用户登录成功后,服务器生成包含用户身份信息的 Cookie 或 Token,发送给客户端存储。客户端下次发起请求时,会自动携带该 Cookie 或 Token,服务器验证其有效性,若有效则识别用户身份,实现自动登录。
“记住我”的优势
提升用户体验:为用户节省时间和精力,尤其在频繁访问的网站或应用中,无需反复输入用户名和密码,提高登录效率。
增强用户粘性:使登录过程更便捷,增加用户使用频率,进而提高用户对应用的依赖度和忠诚度。
防止遗忘:对常使用同一设备登录的用户,可避免遗忘用户名或密码的困扰。
“记住我”的应用场景
社交媒体平台:如微信、微博等,用户日常频繁登录,“记住我” 功能让他们快速进入应用,查看信息、发布动态。
电子商务网站:像淘宝、京东,用户购物时需登录,勾选 “记住我” 后,下次购物登录更便捷,促进交易。
企业内部系统:员工每天访问公司内部办公系统,“记住我” 功能减少登录时间,提高工作效率。
“记住我”的安全性
限制存储内容:绝不存储明文密码,可存储加密后的密码或唯一标识用户的令牌。令牌应定期更新,降低被破解风险。
设置合理有效期:根据应用安全需求和用户使用习惯,设置 Cookie 或 Token 的有效期限,如 7 天、1 个月等。到期后,用户需重新登录,增强安全性。
防范窃取风险:采用安全的传输协议(如 HTTPS),防止数据在传输过程中被窃取或篡改。同时,对存储的用户信息加密处理,即使数据被窃取,攻击者也难以获取有效信息。
考虑设备安全性:在公用设备上,建议用户不勾选 “记住我”。若已勾选,使用完毕后应及时退出登录或清除 Cookie,防止他人获取用户登录信息。
spring 广告位
Spring Security 示例
在 Spring Security6 中实现 "记住我" 功能非常直观,主要通过配置 rememberMe() 方法来完成。
注意:下面示例将基于 Spring Security6 数据库认证 章节进行演示。
依赖和数据库表
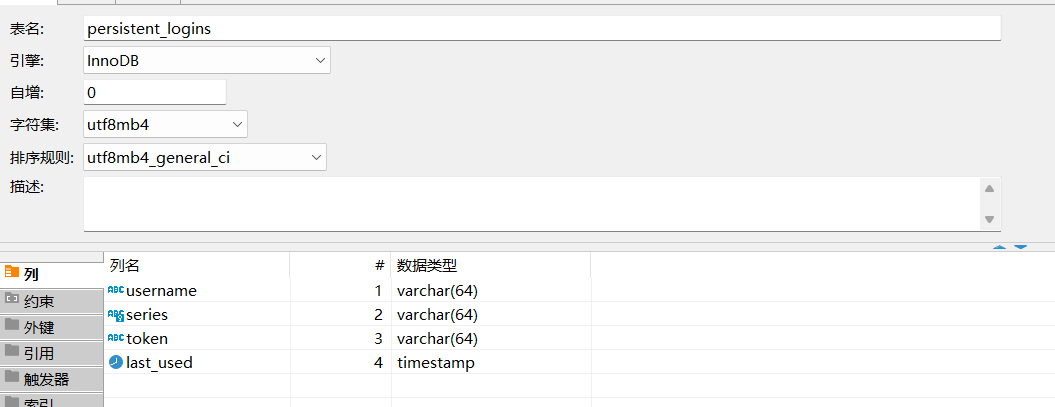
依赖主要添加 mybatis 和 mysql 依赖,在 Spring Security6 数据库认证 章节已经添加,数据库表如下图:
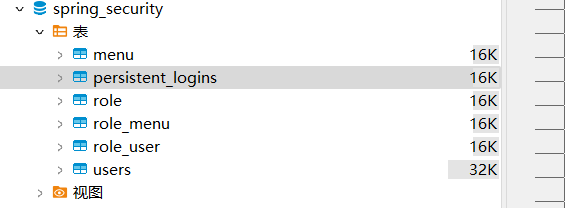
注意:persistent_logins 表是 remember-me 功能自动添加的。
修改 SecurityConfig 配置
在 SecurityConfig.java 配置类中,添加 DataSource(数据源)、PersistentTokenRepository(Token 持久化)和 rememberMe() 配置,如下:
package com.hxstrive.spring_security.config;

import com.hxstrive.spring_security.service.UserService;
import jakarta.annotation.Resource;
import org.springframework.beans.factory.annotation.Autowired;
import org.springframework.context.annotation.Bean;
import org.springframework.context.annotation.Configuration;
import org.springframework.security.config.annotation.web.builders.HttpSecurity;
import org.springframework.security.config.annotation.web.configurers.AbstractAuthenticationFilterConfigurer;
import org.springframework.security.core.userdetails.UserDetailsService;
import org.springframework.security.crypto.bcrypt.BCryptPasswordEncoder;
import org.springframework.security.crypto.password.PasswordEncoder;
import org.springframework.security.web.SecurityFilterChain;
import org.springframework.security.web.authentication.rememberme.JdbcTokenRepositoryImpl;
import org.springframework.security.web.authentication.rememberme.PersistentTokenRepository;
import javax.sql.DataSource;
import static org.springframework.security.config.Customizer.withDefaults;

/**
 * Spring Security 配置类
 * @author hxstrive.com
 */
@Configuration
public class SecurityConfig {

    @Resource
    private UserService userService;

    @Autowired
    private DataSource dataSource;

    // 持久化对象
    @Bean
    public PersistentTokenRepository getPersistentTokenRepository() {
        JdbcTokenRepositoryImpl jdbcTokenRepositoryImpl=new JdbcTokenRepositoryImpl();
        jdbcTokenRepositoryImpl.setDataSource(dataSource);
        // 自动建表,第一次启动时需要,第二次启动时注释掉
        jdbcTokenRepositoryImpl.setCreateTableOnStartup(true);
        return jdbcTokenRepositoryImpl;
    }

    @Bean
    public UserDetailsService userDetailsService() {
        return new CustomUserDetailsService(this.userService);
    }

    @Bean
    public PasswordEncoder passwordEncoder() {
        return new BCryptPasswordEncoder();
    }

    @Bean
    public SecurityFilterChain securityFilterChain(HttpSecurity http) throws Exception {
        System.out.println("securityFilterChain()");
        // csrf 设置
        // csrfCustomizer.ignoringRequestMatchers(*) 表示所有请求地址都不使用 csrf
        http.csrf(csrfCustomizer -> csrfCustomizer.ignoringRequestMatchers("*"))
                // authorize.anyRequest().authenticated() 表示所有的请求都需要进行身份验证。
                .authorizeHttpRequests(authorize -> authorize.anyRequest().authenticated())

                // formLogin() 用于配置表单登录功能
                .formLogin(e -> e.loginProcessingUrl("/login") // 配置处理登陆请求到地址
                        // 自定义登陆页面地址
                        .loginPage("/view/login")
                        // 自定义登陆成功页面
                        .defaultSuccessUrl("/view/success", true) // 登陆成功,重定向地址
                        // 登陆失败页面
                        .failureUrl("/view/login?error") // 登陆失败,重定向地址
                        .permitAll())

                // remember me
                .rememberMe(rememberMeCustomizer -> rememberMeCustomizer
                        .userDetailsService(userDetailsService()) //登录逻辑交给哪个对象
                        .tokenRepository(getPersistentTokenRepository())) //持久层对象

                // httpBasic() 启用 HTTP 基本认证,withDefaults() 表示使用默认的 HTTP 基本认证配置。
                .httpBasic(withDefaults());

        return http.build();
    }

}
修改登陆页面
基于已经存在的 login.html 页面,在登陆表单中添加“记住我”复选框,如下:
<!DOCTYPE html>
<html lang="en">
<head>
    <meta charset="UTF-8">
    <title>自定义登录</title>
</head>
<body>
    <h1>自定义登录页面</h1>
    <!-- 显示错误信息 -->
    <div id="errorInfo" style="color:red;display:none;">用户名/密码错误</div>
    <script>
        if(location.href.indexOf("?error") !== -1) {
            document.getElementById("errorInfo").style.display = "block";
        }
    </script>
    <form action="/login" method="post">
        <p>
            用户名:<input type="text" name="username" placeholder="请输入用户名" />
        </p>
        <p>
            密码:<input type="password" name="password" placeholder="请输入密码" />
        </p>
        <p>
            <input type="checkbox" name="remember-me"> 记住我
        </p>
        <p>
            <input type="submit" value="登录"/>
        </p>
    </form>
</body>
</html>
关键代码“<input type="checkbox" name="remember-me"> 记住我”,注意,name 需要配置为“remember-me”。
运行项目
在 IDE 中运行 Spring Boot 应用程序的主类(通常是带有 @SpringBootApplication 注解的类),监听 8080 端口。
测试项目
打开浏览器,访问 http://localhost:8080/hello 地址,由于所有请求都需要身份验证,你会看到自定义的登录页面,如下图:
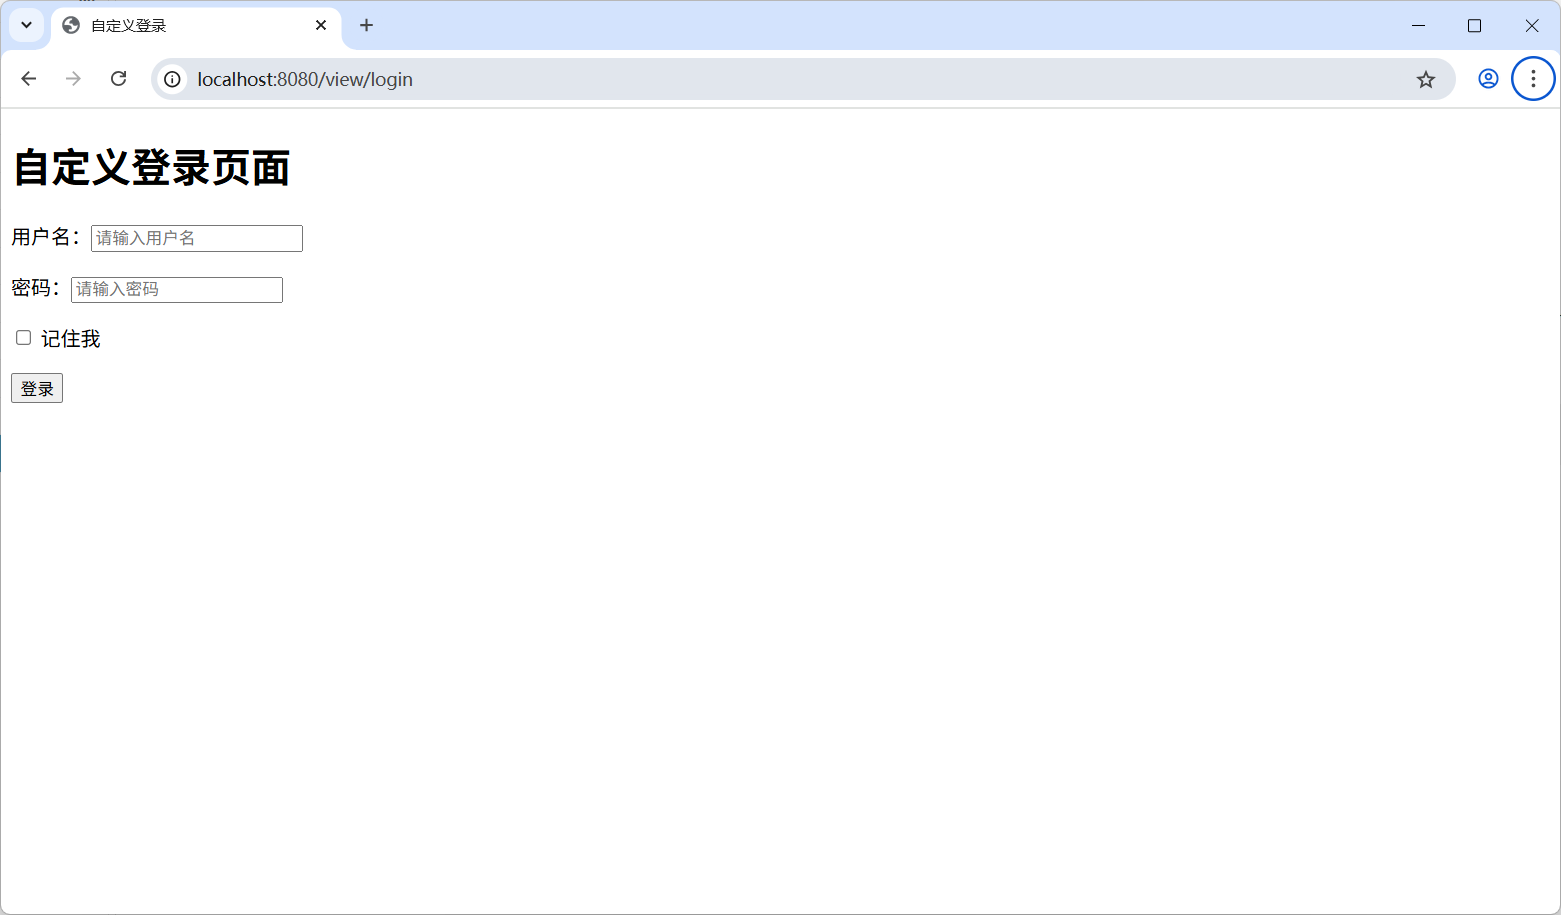
上图,多了一个“记住我”复选框,输入正确到用户名和密码且勾选“记住我”复选框,点击“登陆”,成功登陆,如下图:
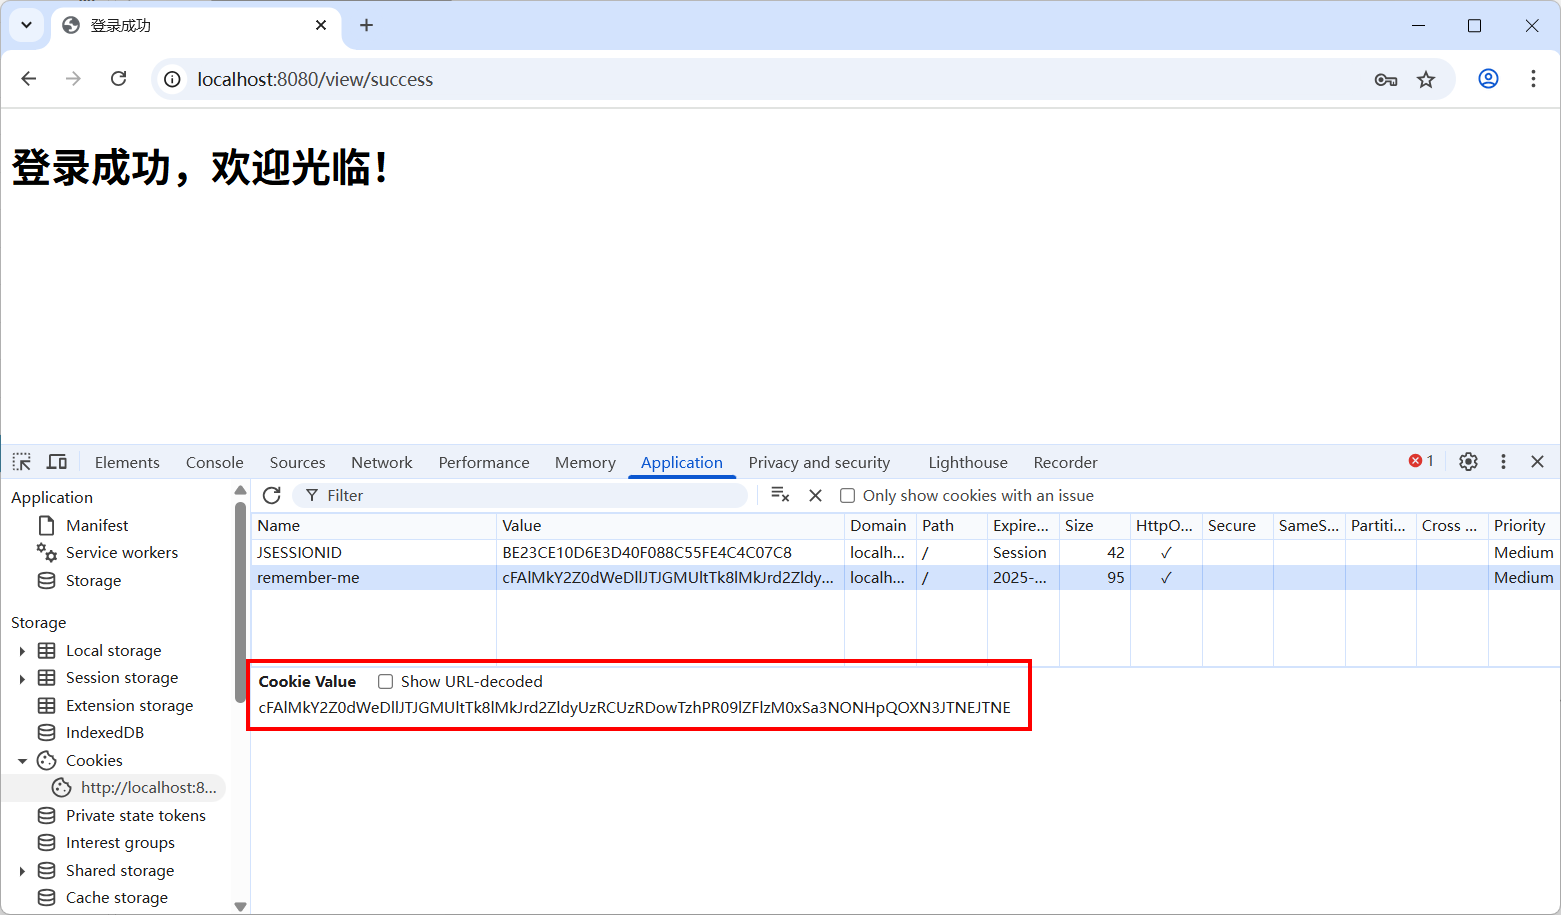
从上图可知,登陆成功后,自动创建了名为 remember-me 的 Cookie,再去看看数据,如下图:

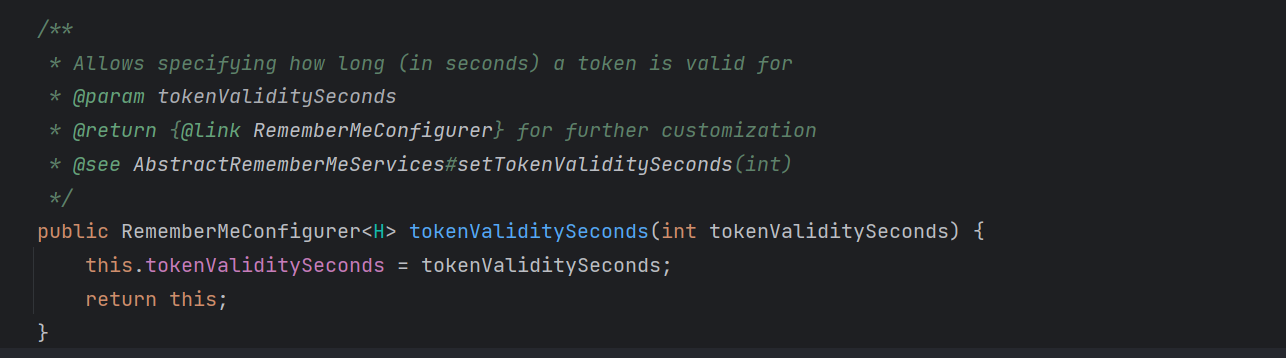
Spring Security “记住我”功能,默认有效时间是两周,可以通过设置状态有效时间,即使项目重新启动下次也可以正常登录。如下:
// remember me
.rememberMe(rememberMeCustomizer -> rememberMeCustomizer
        .userDetailsService(userDetailsService()) //登录逻辑交给哪个对象
        .tokenRepository(getPersistentTokenRepository()) //持久层对象
        .tokenValiditySeconds(120) // 单位秒
)
方法源码如下:
注意:具有 remember-me 功能时,千万不要使用登录成功转发,应该使用重定向,否则,刷新浏览器会在数据库中出现多条用户登录信息数据。

 川公网安备51010802032098